Teradata
Important
Starting August 30, 2023, we will remove the ability to create new data sources using the Teradata Native Connector. Support for the Teradata Native Connector will cease on December 1, 2023, as set out in Alation’s Support Policy. See the Transition from Native to OCF Connectors announcement in Alation Community (requires login to Community).
Required Information
To configure Teradata in Alation, you will need the following information:
Hostname or IP address of your server
Port number - default is 1025
COP discovery status (Select checkbox Use COP if you are using COP)
Auth type for service account (Select checkbox Use LDAP if you are using LDAP)
Service Account
Custom View for Query Log Ingestion
Preliminaries
Firewall Configuration: Open outbound TCP port 1025 to Teradata server
Service Account
Sample SQL to create an account:
CREATE USER alation FROM [database] AS PASSWORD = [password] PERM = 20000000;
Permissions
Metadata Extraction
Ensure the user alation has the following privileges on system tables.
GRANT SELECT ON dbc.dbase TO alation;
GRANT SELECT ON dbc.databasesv TO alation;
Note
If only databasesv is allowed to be selected, (dbase is not
selected), then run the following command to enable the following
feature flag in the alation shell:
alation_conf alation.feature_flags.teradata_use_databasesv -s True
Run the following grant:
GRANT SELECT ON dbc.tablesv TO alation;
GRANT SELECT ON dbc.tabletextv TO alation;
GRANT SELECT ON dbc.tablesizev TO alation;
GRANT SELECT ON dbc.columnsv TO alation;
GRANT SELECT ON dbc.indicesv TO alation;
GRANT SELECT ON dbc.all_ri_parentsv to alation;
GRANT SELECT ON  dbc.indexconstraintsv TO alation;
GRANT SELECT ON dbc.tvm TO alation;
GRANT SELECT ON dbc.tvfields TO alation;
Profiling
SELECT on [SCHEMA or TABLE]
Access Rules
GRANT SELECT ON dbc.rolemembersv TO alation;
GRANT SELECT ON dbc.allRoleRightsv TO alation;
GRANT SELECT ON dbc.databasesv TO alation;
GRANT SELECT ON dbc.allrightsv TO alation;
Steps In Alation
Step 1: Add a Datasource
Add a new Datasource on the Sources page, refer to Adding a Data Source.
Step 2: Set up the Connection
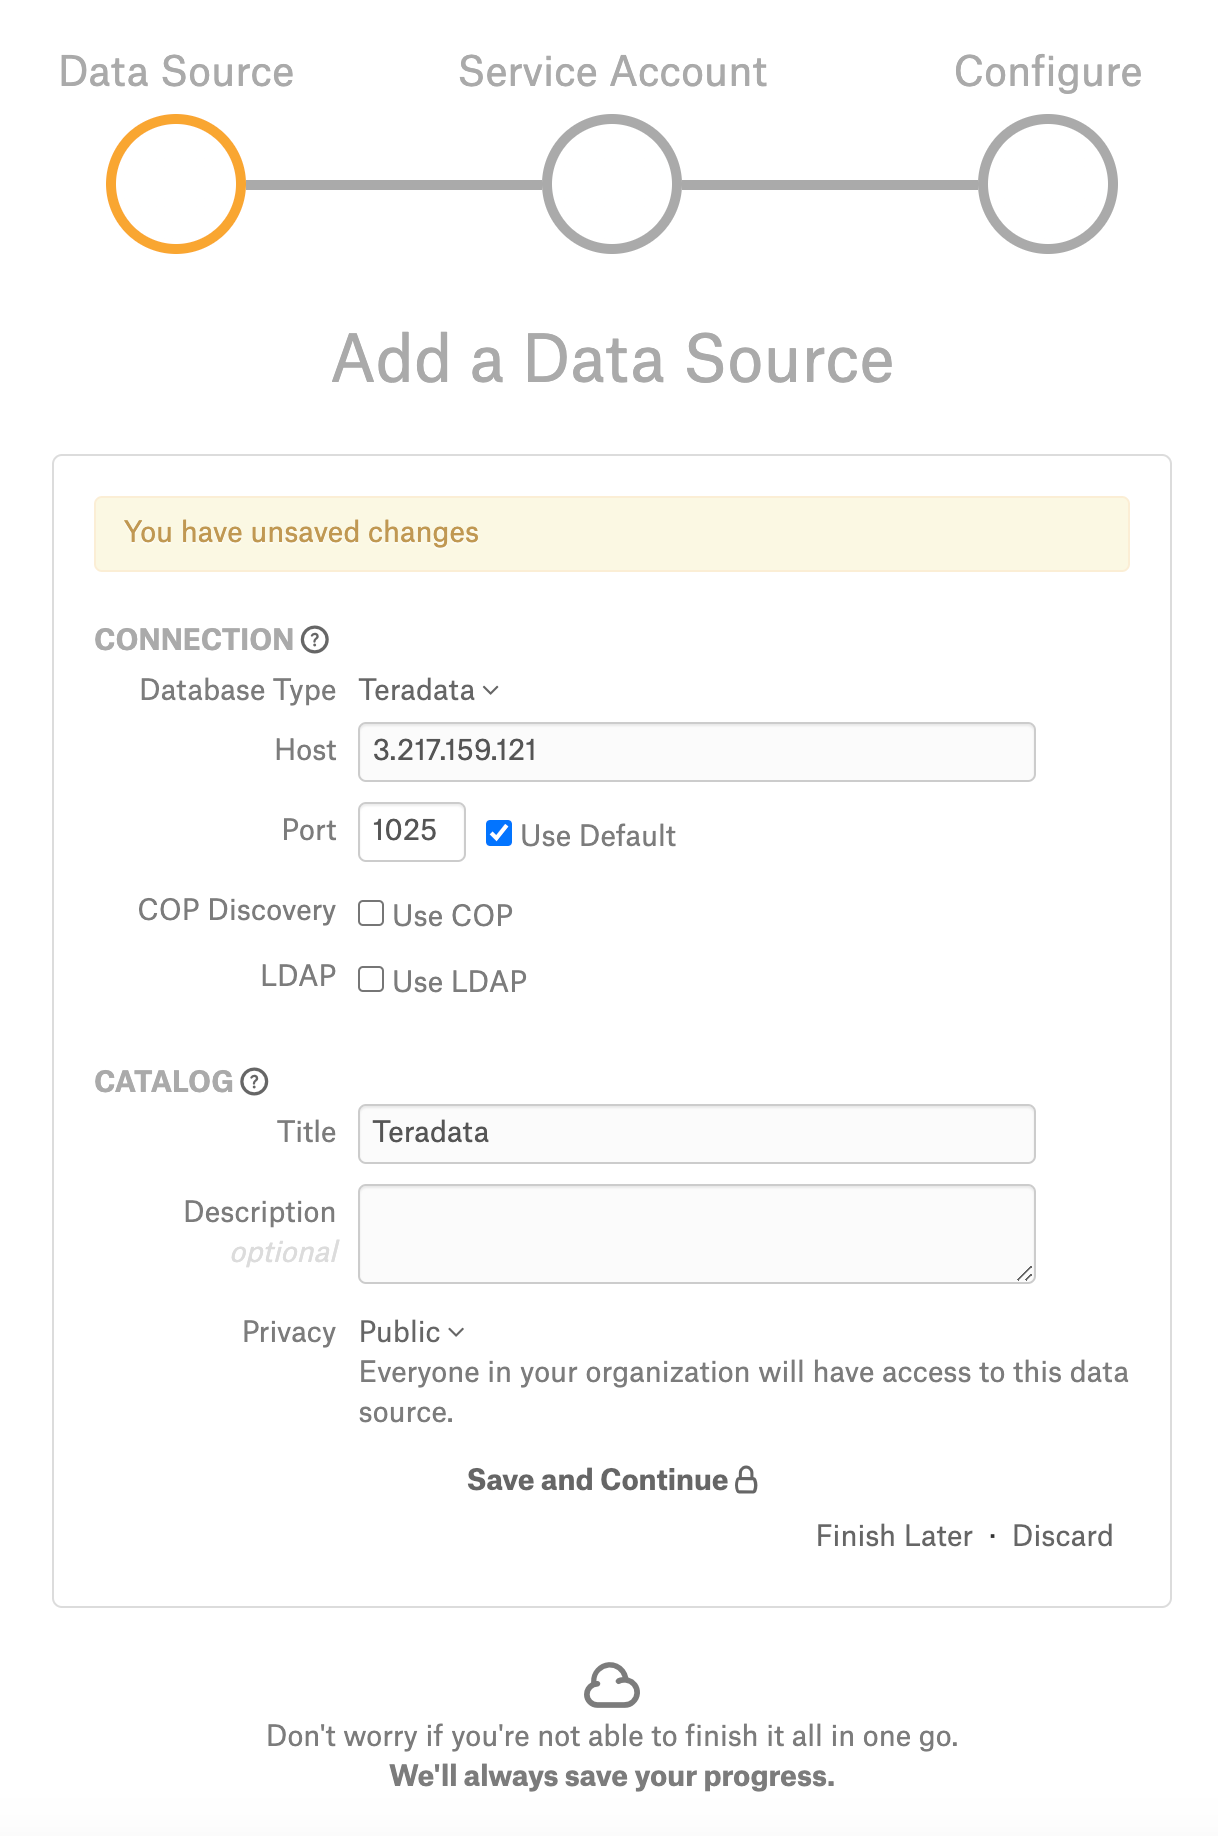
To add a Teradata data source to Alation; On the Add a Data Source screen of the wizard, specify:
In the Database Type list select Teradata;
In the Host field, provide the hostname or IP address of your server.
In the Port field, type the port number 1025;
Under Catalog, provide the Title, Description, and Privacy settings, and click Save and Continue. The next wizard screen - Set Up a Service Account - will open.
Step 3: Enter Service Account Credentials
Select Yes.
Provide the username and password of the service account created for Alation.
Click Save and Continue. After this step, you are navigated to the Settings page of your data source.
Step 4: Configure Your Data Source
Click Skip this Step. After this step, you are navigated to the Settings page of your data source.
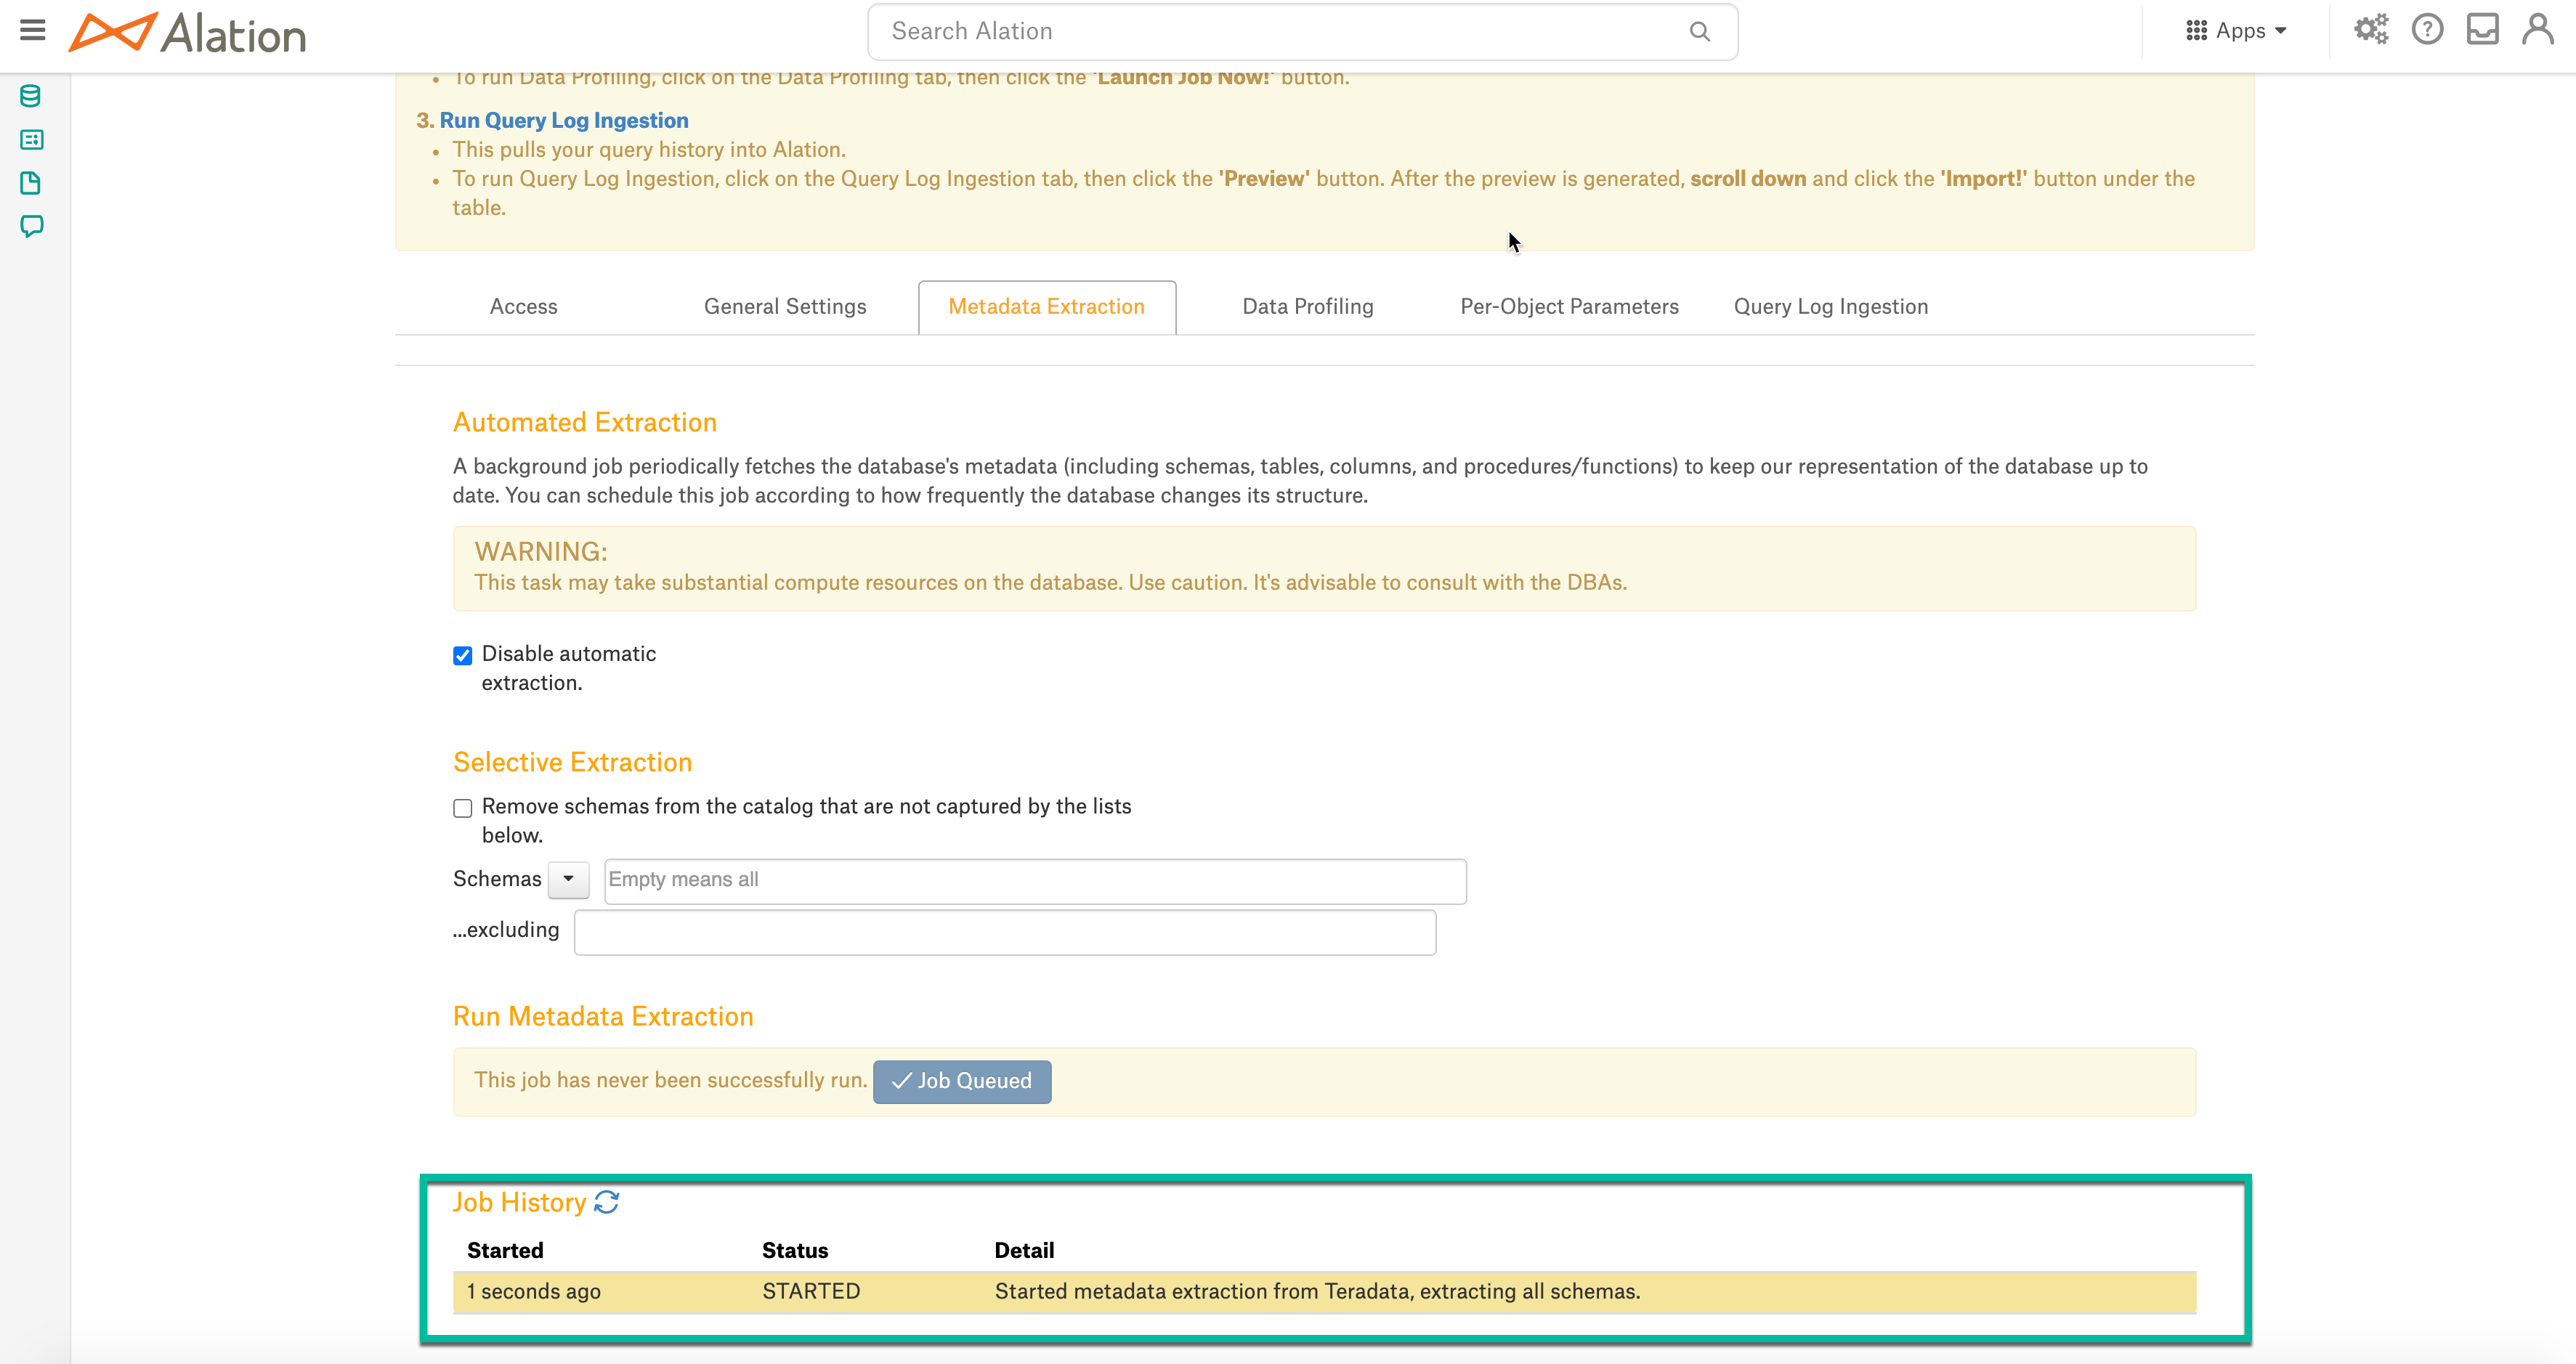
Metadata Extraction
To perform regular MDE,
On the Metadata Extraction tab, click Fetch from DB Now. Alation will fetch schemas from your data source.
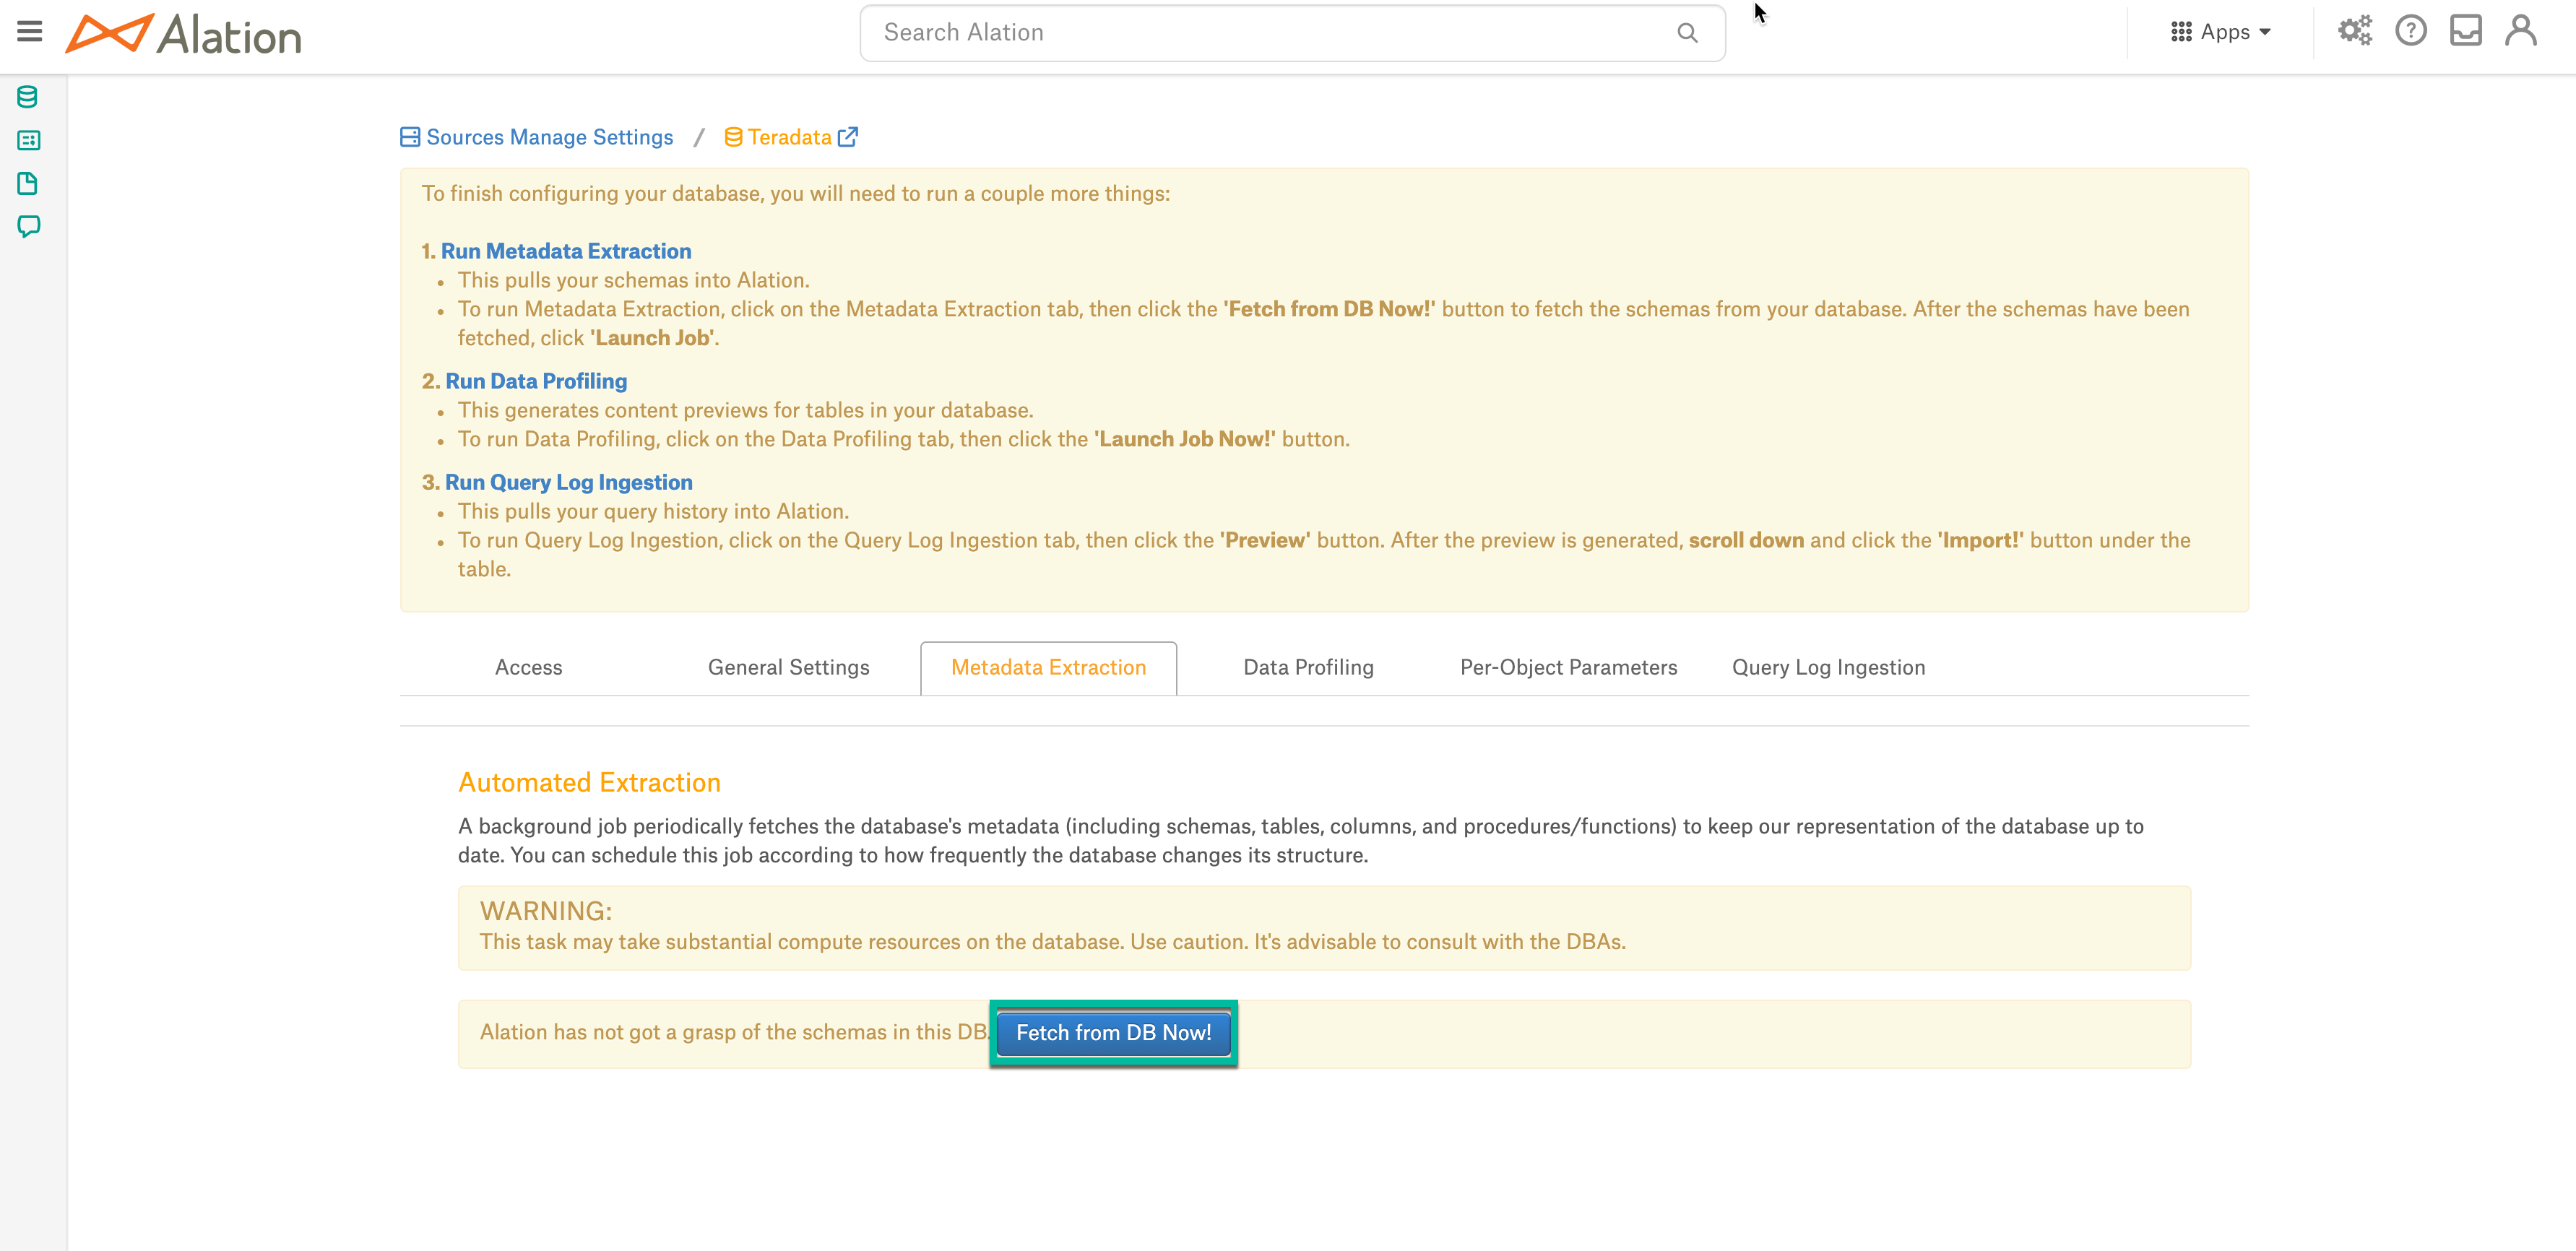
You can now extract the metadata for all the schemas that Alation fetched (full extraction) or you can specify the schemas to be extracted from the list of fetched schemas (selective extraction). To perform full extraction, click Launch Job. To perform selective extraction, first, select the schemas you wish to extract, and then click Launch Job:
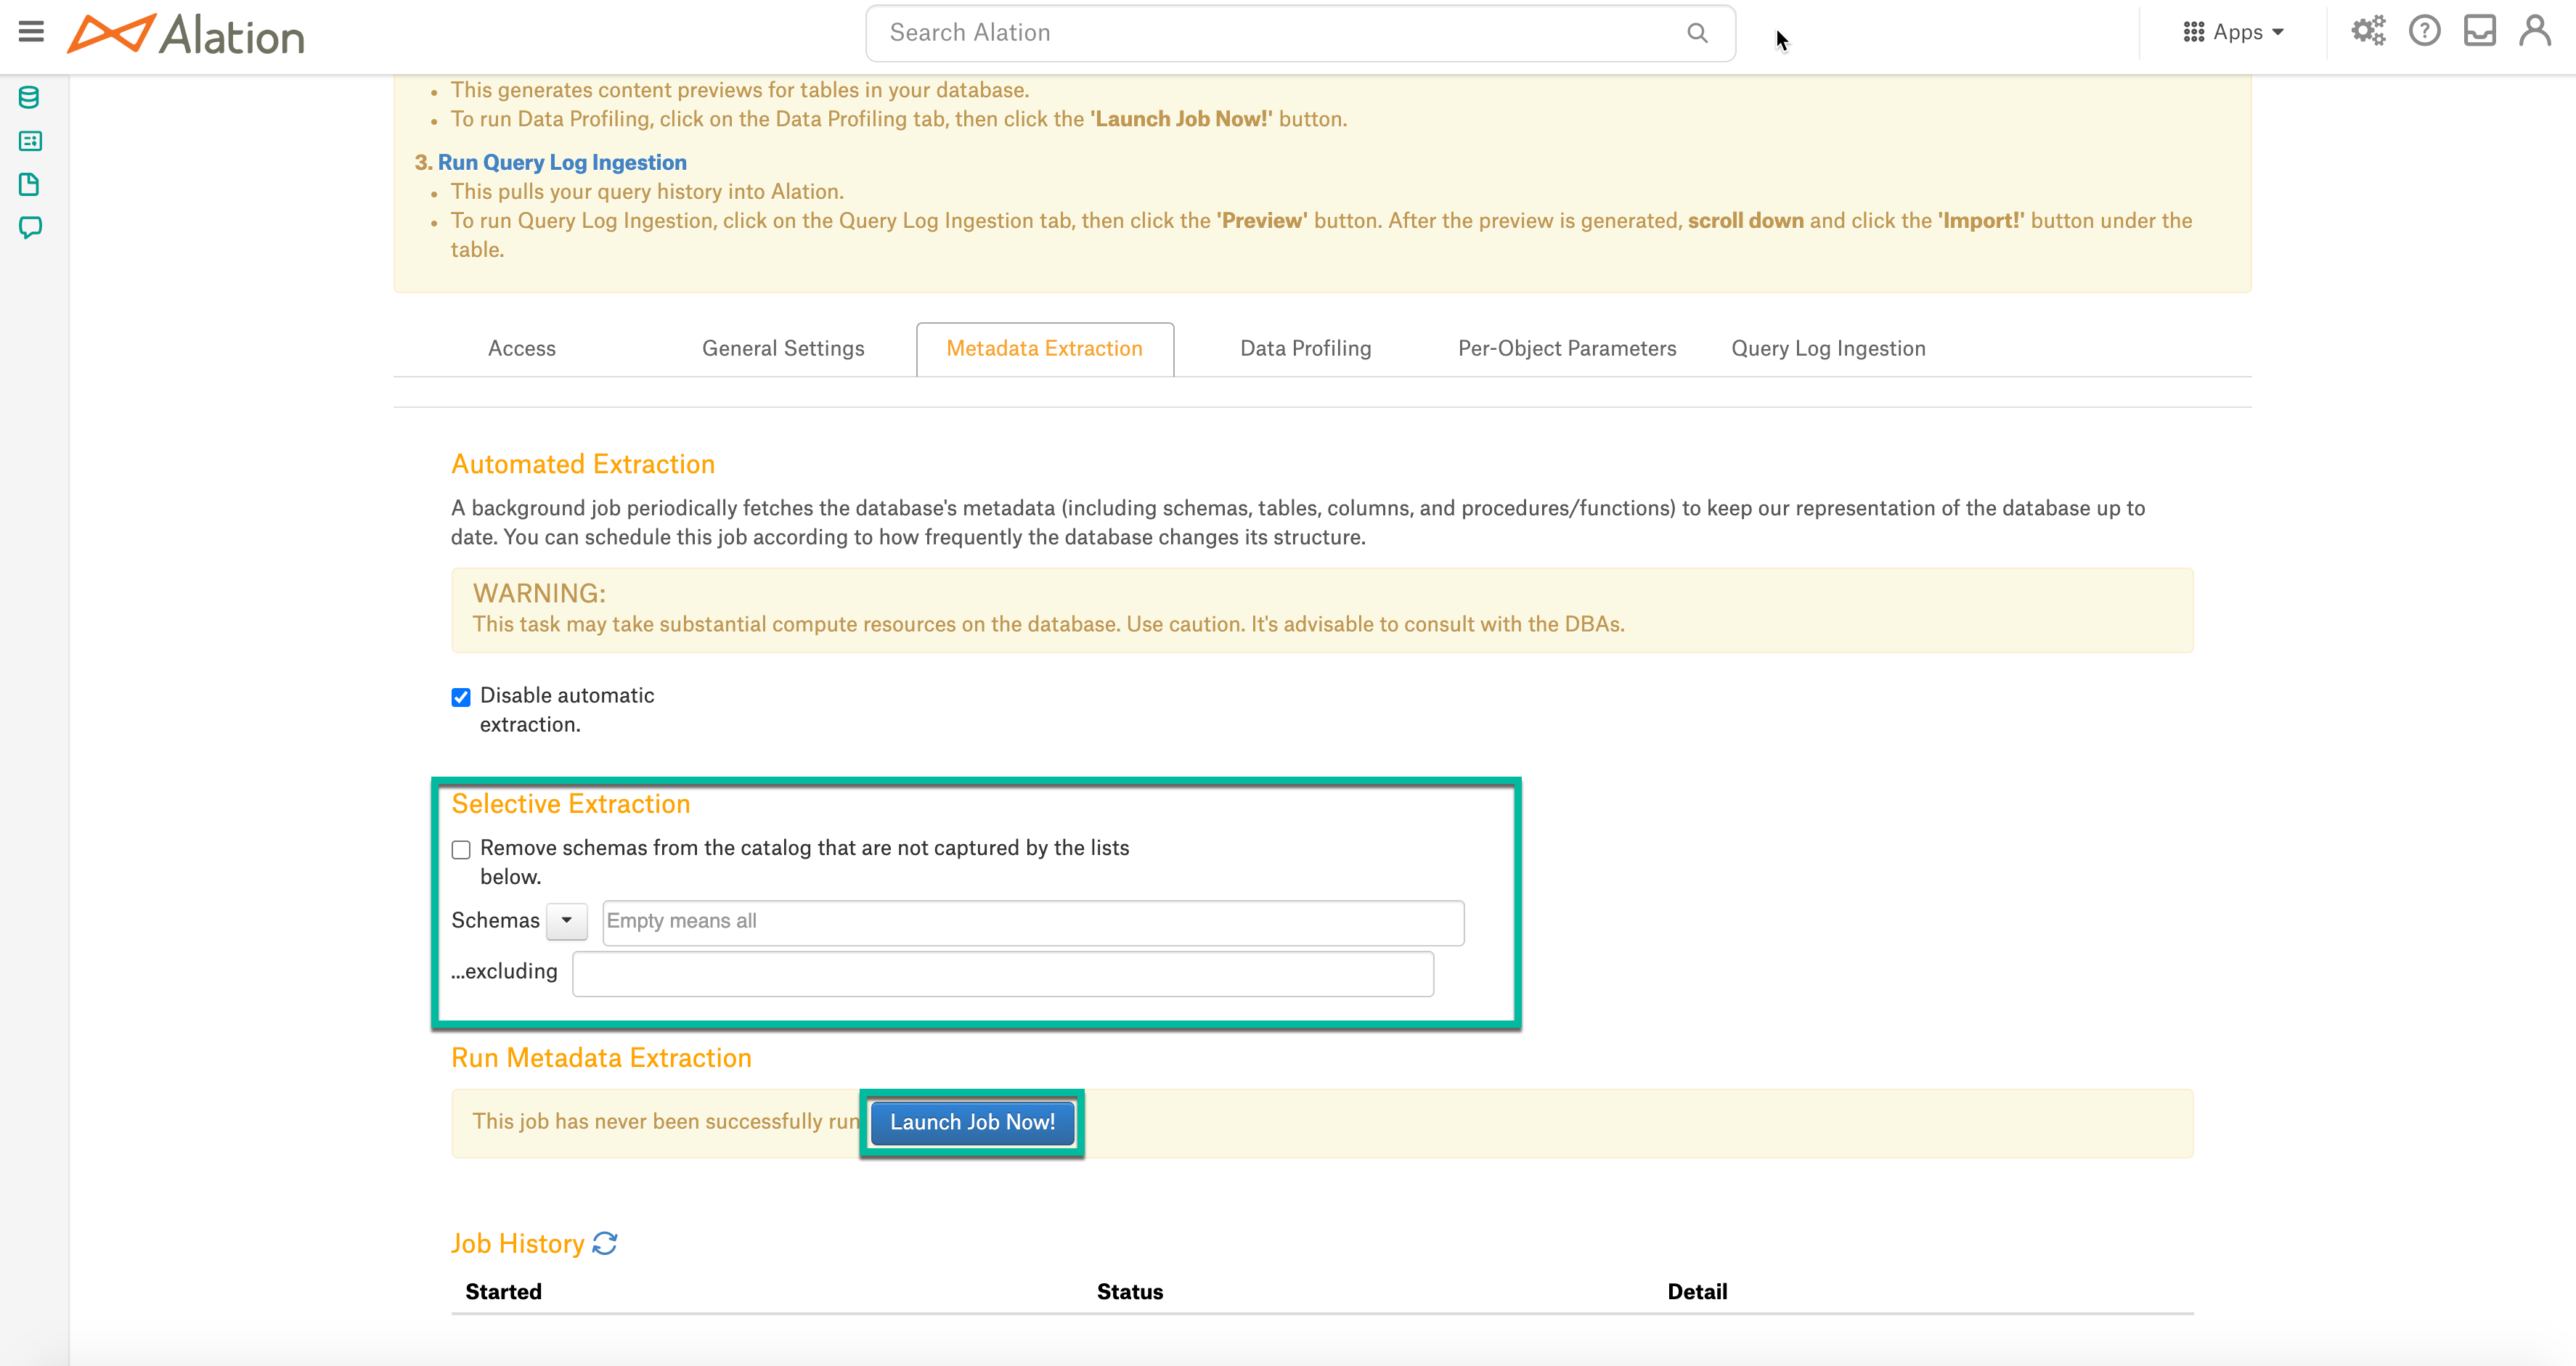
Once MDE has been completed, you should be able to see the extracted metadata in your Alation catalog. You can monitor the job status in the Job History table at the bottom of the page:
Profiling
Configure and perform Profiling (optional) and verify the results. Set the number of tables to be profiled by the Profiling job by selecting a value in the dropdown list on top of the Job History table. By default, all tables are profiled. When a specific number of tables to profile is selected, unprofiled and popular tables are prioritized.
Click Launch Job Now to perform profiling.
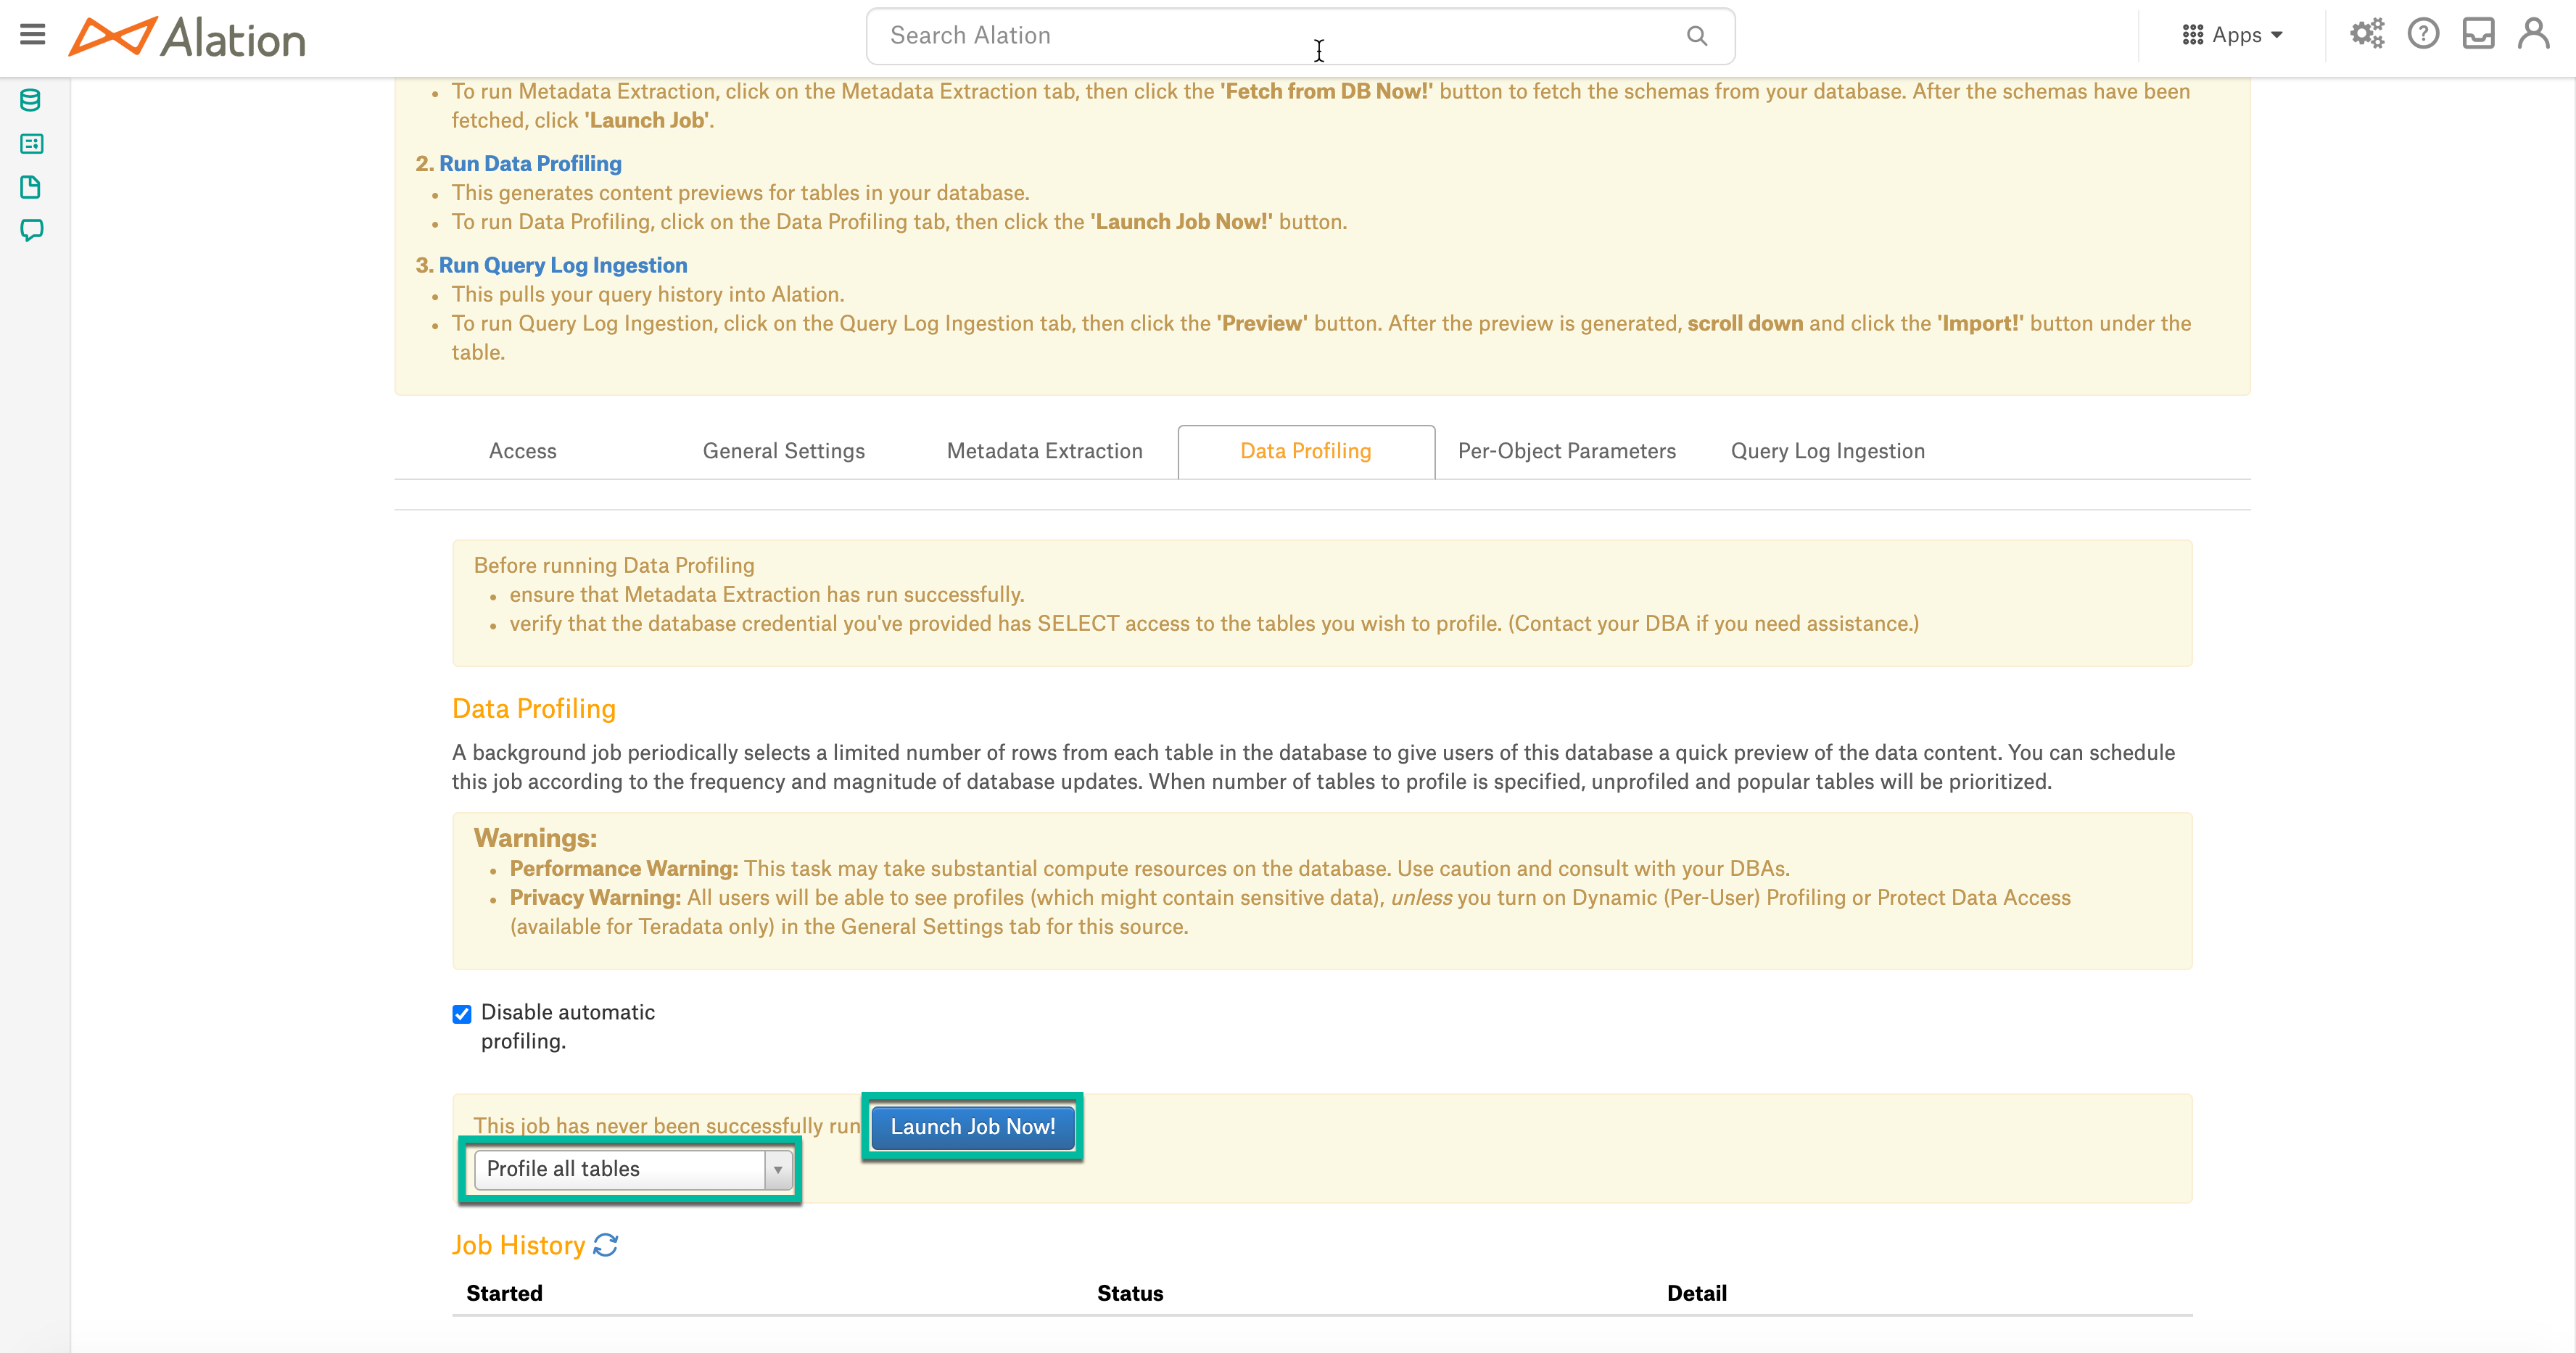
Automatic full and selective Profiling is supported. You can run a profile for one table or column on the Samples tab of the Table or Column page of this data source or use the Per-Object Parameters tab to specify which objects to profile.
Note
To profile a table during automatic Profiling, Alation issues a simple query for each table: SELECT * FROM <table>. Please note that from a cost perspective you may want to profile specific tables only and/or set a schedule to profile weekly or even monthly.
Query Log Ingestion
Alation reads query history information from a custom view created on
your Teradata system. The service account (alation) needs to have
SELECT privileges on this view.
The three options for the custom view are as follows:
DBC Created on DBC tables with standard columns
PDCR Created on PDCR tables with standard columns
This enables partitioning on a date column that can enable query log ingestion to run more efficiently while pulling all information
Reduced Created on DBC tables with a minimal set of columns
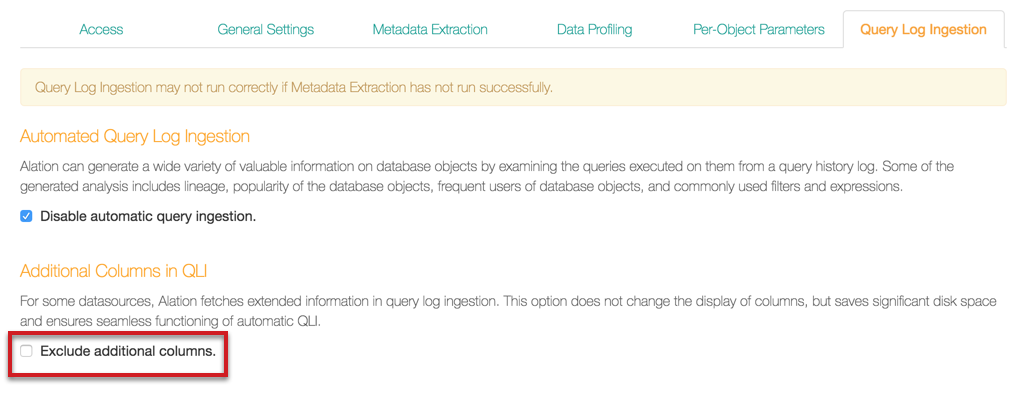
This enables Alation to run more efficiently on DBC tables and can substantially reduce the time taken for QLI. There may be some loss of context with this option.
Select this option in the Alation UI (refer to the screenshot under Exclude Additional Columns section)
For more information on example SQL to create the view, see Appendix A.2.
Exclude Additional Columns
If you use the Reduced query log view SQL, select the checkbox Exclude additional columns on the Query Log Ingestion settings page as shown. If this option is not selected, Alation will expect all columns in the full DBC view to be present: