Configure Lexicon Manually and Upload Lexicon
Alation Cloud Service Applies to Alation Cloud Service instances of Alation
Customer Managed Applies to customer-managed instances of Alation
The Lexicon feature in the Alation platform allows users to provide one or more expansions for common abbreviations used in the names of database objects in their environment. Alation will use the expansions for an abbreviation to automatically create titles for any database objects that have that abbreviation.
To upload Lexicon information that is not captured in the metadata from the connected data sources, Alation users can leverage the Upload Lexicon command-line script. This process will append the new abbreviations and expansions to the existing lexicon and will not overwrite any content that was in the lexicon before the upload.
Below are the instructions for running this script.
Step 1: Prepare an Input File
You can upload Lexicon from a CSV file.
Important
If your source CSV file includes Unicode characters, make sure it is encoded in UTF-8.
The Upload Lexicon script expects a two column CSV file as input. The first column of the CSV file is for the abbreviation that will be added to the Lexicon or already exists in the Lexicon. The second column is for the new expansion that is to be added to the Lexicon for the abbreviation in the first column. Multiple expansions for a single abbreviation will need to be represented on separate lines. Here is an example of an input file:
abbreviation,expansion
amt,amount
cst,cost
cst,customer
bal,balance
Note
The input file should not have any empty rows and does not need a header row.
Step 2: Copy the Input File to Alation Server
After the input file is created following the format specified
in Step 1, the file will need to be moved to the Alation Server. Using a file transfer
utility of your choice, such as Filezilla, scp, or sftp, transfer the input
file from your computer to a temp directory on the Alation server. Your
Alation administrator will have the details required for setting up this
transfer, such as the name/IP address of the server and the credentials
required for login. After the file transfer has completed, you will
need to move the file to the /opt/alation/alation directory so that it
is visible in the chroot environment. To do this, execute the
following command:
sudo mv /<temp directory>/example_file.csv /opt/alation/alation/
Step 3: Change Ownership to alation
After successfully transferring your input file to the Alation server,
ensure that the file is owned by the Alation service ID (alation). If
you transferred the file to the Alation service with an ID other than
the Alation service ID, have your Alation administrator login as root
and run the following command. Replace <input file name> with the name
of the file you created in Step 1.
sudo chown alation:alation <input file name>
Step 4: Log in to the Alation Shell
Now that the input file is in the correct location, you will need to first log in to the Alation shell. To log in to the Alation shell, run the following command:
sudo /etc/init.d/alation shell
If you see output similar to this, you have successfully logged into the Alation shell:
This is an Alation shell on a production server. If you got here in error, use ^D to exit.

Mounting into root jail...
Data disk already mounted.
Backup disk already mounted.
/dev already mounted.
/proc already mounted.df
Copying configuration files into the root jail...
(env) PROD [alationadmin@ip-10-11-3-174 /]$
Step 5: Log in to the Django Shell
You will then need to log in to the Django shell to run the Upload Lexicon script. To log in to the Django shell and execute the script, run the following:
alation_django_shell
Step 6: Execute the Upload Lexicon Script
Initialize the Upload Lexicon script:
from lexicon.upload import upload_csv
Assign the location of your file to the path variable. Replace
<input file name>with the name of your file, and note that the given path is inside the chroot.path_to_file = '/<input file name>'Execute the Upload Lexicon script. Replace
<userID>with the ID of an Admin user.upload_csv(path_to_file, <userID>)Exit the Django shell:
exit()
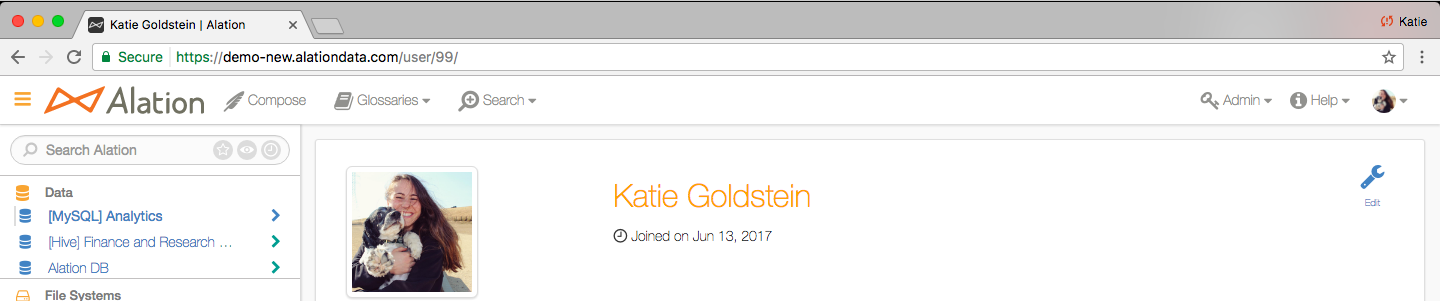
Note
The userID value is found at the end of the URL for your profile page in Alation. In the screenshot below, “99” is the userID.