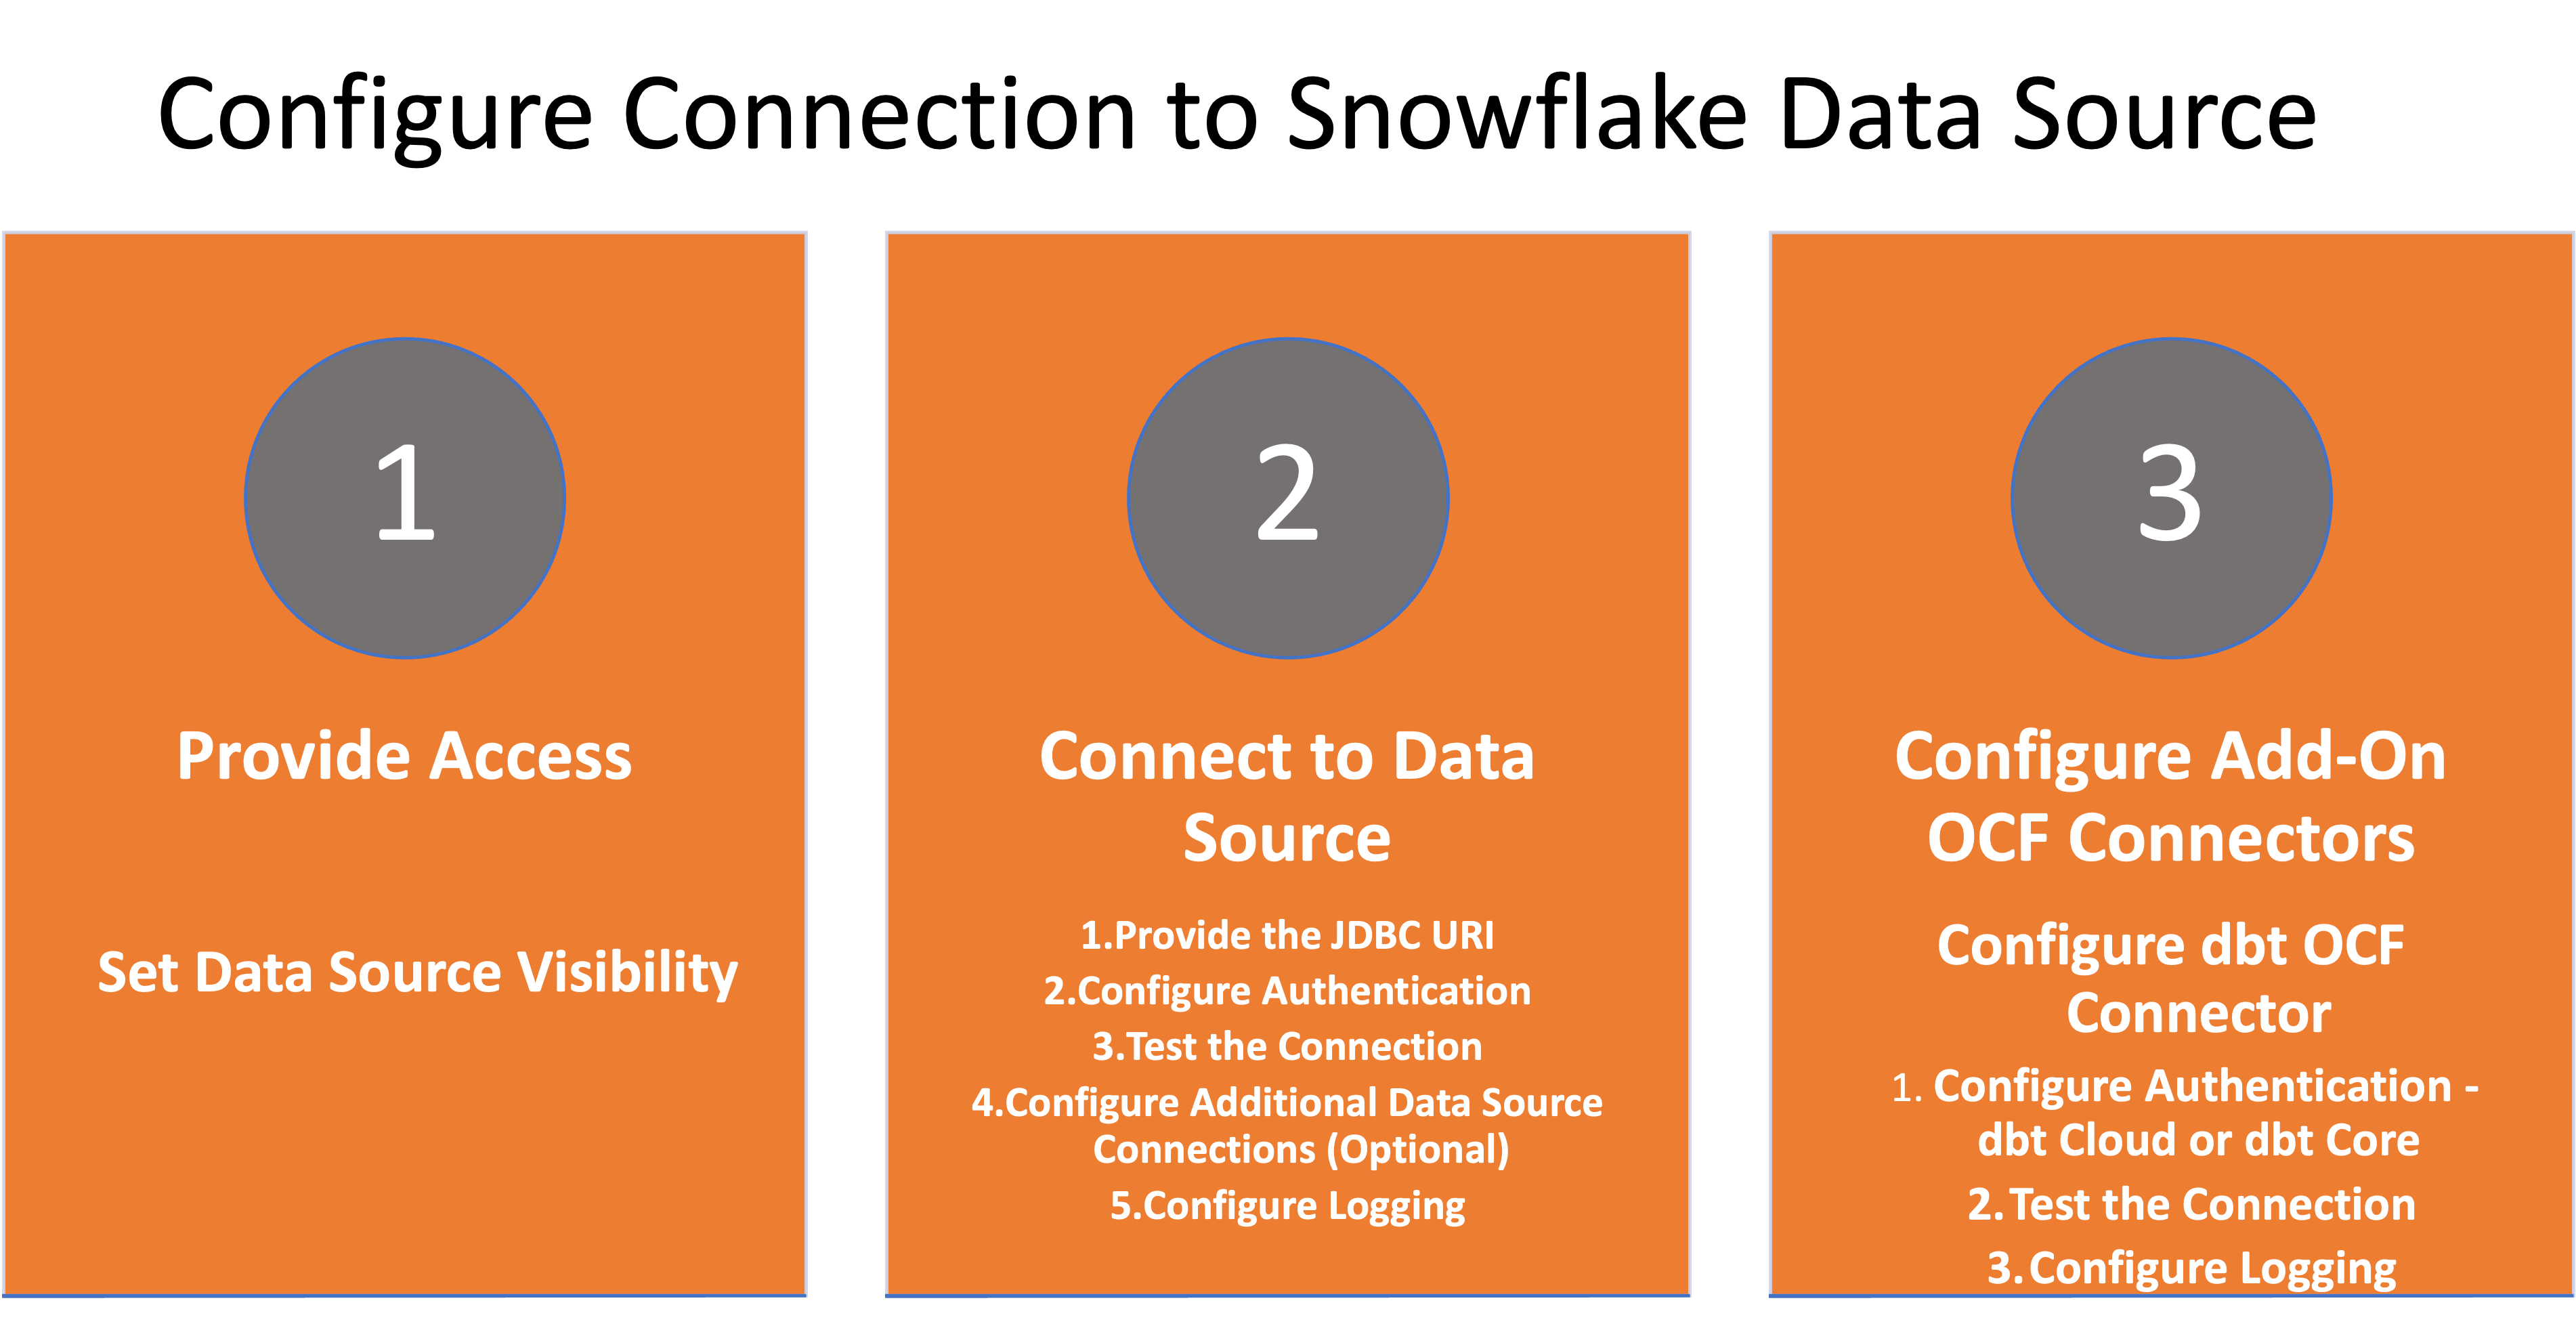
Configure Connection to Data Source
Alation Cloud Service Applies to Alation Cloud Service instances of Alation
Customer Managed Applies to customer-managed instances of Alation
After you install the Snowflake OCF connector, you must configure the connection to the Snowflake data source.
The various steps involved in configuring the Snowflake data source connection setting are:
Configure Add-On OCF Connector
Provide Access
Go to the Access tab on the Settings page of your Snowflakes data source, set the data source visibility using these options:
Public Data Source — The data source is visible to all users of the catalog.
Private Data Source — The data source is visible to the users allowed access to the data source by Data Source Admins.
You can add new Data Source Admin users in the Data Source Admins section.
Connect to Data Source
To connect to the data source, you must perform these steps:
Important
The Alation user interface displays standard configuration settings for credentials and connection information stored in the Alation database. If your organization has configured Azure KeyVault or AWS Secrets Manager to hold such information, the user interface will change to include the following buttons adjacent to the respective fields:

By default, you see the user interface for Standard. In the case of Vault, instead of the actual credential information, you must select the source and provide the corresponding key. For details, see Configure Secrets for OCF Connector Settings.
Provide the JDBC URI
Before using the JDBC URI format, understand the JDBC URI format and parameters for the Snowflake OCF connector.
URI Format
snowflake://<hostname>:<port>/?warehouse=<warehouse_name>&db=<db_name>&role=<role_name>
Example
snowflake://my_account.us-east-1.snowflakecomputing.com:443/?warehouse=TEST&db=TEST_DB&role=alation-role
URI Paramaters
When building the URI, include the following components:
Hostname
Port
Role
Warehouse Name
Database Name
Parameter |
Description |
|---|---|
Hostname |
Mandatory. Specify the hostname.
|
Port |
Mandatory. Specify port number 443. |
Warehouse Name |
Specify the currently active warehouse in your account for which the service account has access privileges. Optional if a default warehouse has been assigned to the role of the service account. If not, this parameter is mandatory. |
Role |
Optional. Provide default role of the service account user. |
Database Name |
Optional but recommended.
Specify the database name.
If you don’t include this parameter, Alation will extract
metadata from all databases that the service account can access.
The same applies to policies. If you are going to extract
policies, this parameter is recommended as it limits policy
extraction to a specific database.
When users run DDL queries in Compose, Alation can incrementally
ingest the corresponding metadata into the catalog. Both the
service account connection JDBC URI and the Compose connection
URI must include the database name (
|
allowUnderscoreInHost |
Optional.
From connector version 2.1.0, the Snowflake JDBC driver has
set the default value of the |
Provide the JDBC URI in Alation
To provide to the JDBC URI in the Alation UI, perform these steps:
From Alation version 2023.3.2.1 and connector version 2.2.9
On the Settings page of your Snowflake data source, go to the General Settings tab.
In the Provide the JDBC URI section, enter the JDBC URI.
Follow the correct JDBC URI format (snowflake://<host_name>:<port_number>/?warehouse=<warehouse_name>&db=<db_name>).
Note
Click the View history icon to view the history of recent URI values provided by users, if any. The History: Recent URI Values list displays 100 URI entries. You can copy a URI from the list to reuse.
Click Save.
On the Settings page of your Snowflake data source, go to the General Settings tab.
Go to the Connector Settings > Datasource connection section and enter the JDBC URI.
Follow the correct JDBC URI format (snowflake://<host_name>:<port_number>/?warehouse=<warehouse_name>&db=<db_name>).
Click Save.
Configure Authentication
For metadata extraction (MDE), profiling and sampling, and query log ingestion (QLI), the connector supports the following authentication types:
Basic authentication (username and password)
Key pair authentication
Both Basic and Key pair authentication require a service account (see Prerequisites).
In Compose, users can authenticate using:
Basic authentication (username and password)
OAuth 2.0 authentication flow
You can find more information about Compose authentication in User Authentication For Data Sources.
Configure Basic Authentication
To configure Basic authentication, perform these steps:
From Alation version 2023.3.2.1 and connector version 2.2.9
On the Settings page of Snowflake data source, go to the General Settings tab.
On the Connect to the data source section, select the Basic tab under the Configure authentication step.
Enter the username and password for basic authentication.
Click Save.
On the Settings page of your Snowflake data source, click on the General Settings tab.
Go to the Connector Settings > Datasource connection section and enter the username and password for basic authentication.
Click Save.
Configure Key Pair Authentication
Alation supports the key pair authentication method for metadata extraction, profiling and sampling, and query log ingestion.
Note
Alation does not support key pair authentication for individual user account connections from Compose.
Alation does not support key pair authentication for Snowflake OAuth in Compose. Snowflake OAuth uses authentication based on a client ID and secret.
Prerequisite
Before you configure the key pair authentication in Alation, ensure that you:
Create a service account and grant the required permissions.
Generate the Key Pair on Snowflake
To generate a key pair:
Generate a private key and a public key.
Refer to Key Pair Authentication & Key Pair Rotation in Snowflake documentation for details. Optionally, you can generate a private key with a passphrase.
Assign the public key to the service account you created for Alation.
Store the private key and its passphrase securely on your local machine.
Use these credentials when configuring key pair authentication on the Settings page of your Snowflake data source in Alation.
Configure Key Pair in Alation
To configure Key Pair authentication, perform these steps:
From Alation version 2023.3.2.1 and connector version 2.2.9
On the Settings page of your Snowflake data source, go to the General Settings tab.
On the Connect to the data source section, select the Key pair tab under Configure authentication step.
Enter the following details:
Username - The username of the service account that has the public key assigned to it.
Private Key Passphrase - The passphrase of the private key that you created.
Upload Private Key File - Click the Upload button to upload the private key file.
Click Save.
On the Settings page of your Snowflake data source, go to the General Settings tab.
Provide the following information in the Snowflake Key Pair Authentication section:
Enable Snowflake Key Pair Auth - Select this checkbox to enable the key pair authentication.
Username - The username of the service account that has the public key assigned to it.
Upload Private Key File - Click the Upload button to upload the private key file.
Private Key Passphrase - The passphrase of the private key that you created.
Click Save.
Test the Connection
The connection test checks database connectivity. Alation uses the JDBC URI to connect to the database and to confirm when the connection is established.
After specifying the JDBC URI and configuring authentication, test the connection.
To validate the network connectivity, go to General Settings > Test Connection of the Settings page of your Snowflake data source and click Test.
A dialog box appears confirming the status of the connection test.
Troubleshoot Connection
You may see the errors below while connecting to Snowflake using key pair authentication. The errors are specific to OpenSSL version 1.1.1g on Windows or Ubuntu.
Error messages:
Private key provided is invalid or not supported: rsa_key.p8: ObjectIdentifier() – data isn’t an object ID (tag = 48) null
Exception in thread “main” java.security.NoSuchAlgorithmException: 1.2.840.113549.1.5.13 SecretKeyFactory not availableWhen run from JDBC application.
To resolve this issue, use the following command to generate the private key:
openssl genrsa 2048 | openssl pkcs8 -topk8 -inform PEM -v1 PBE-SHA1-RC4-128 -out rsa_key.p8
Configure Additional Connection Settings
Apart from the mandatory configurations that you perform to connect to the data source in the General Settings tab, you can configure the following additional settings:
Configure Additional Data Source Connections
Disable Obfuscate Literals
Disable automatic lineage generation
Configure Additional Data Source Connections
Alation can associate objects in a data source with objects in another source in the catalog through lineage. For example, you can show lineage between your data source and BI sources that use its data.
Provide additional connection information for the data source to see lineage across multiple sources on the Lineage chart.
From Alation version 2023.3.2.1 and connector version 2.2.9
To enter additional data source connection details, go to General Settings > Advanced settings of the Settings page of your Snowflake connector and enter the connection URL.
Use the following format:
<host>:<port>You can provide multiple values as a comma-separated list:
<host1>:<port1>,<host2>:<port2>For example:
10.13.71.216:1541,sever.com:1542
On the Application Settings section of General Settings tab, provide the host and port information in the BI Connection Info field.
This parameter is used to generate lineage between the current data source and another source in the catalog, for example a BI source that retrieves data from the underlying database. The parameter accepts host and port information of the corresponding BI data source connection.
Use the following format: <host>:<port>
You can provide multiple values as a comma-separated list:
<host1>:<port1>,<host2>:<port2>
For example:
10.13.71.216:1541,sever.com:1542
For more details, see Configure Cross-Source Lineage.
Enable or Disable Automatic Lineage Generation
You can enable or disable the lineage for the data source to be generated automatically during metadata extraction, query log ingestion, and from Data Definition Language queries run by users in Compose.
From Alation version 2023.3.2.1 and connector version 2.2.9
Go to General Settings > Advanced settings of the Settings page of your Snowflake data source and enable or disable the Disable automatic lineage generation toggle.
Disable the Disable automatic lineage generation toggle when you want to automatically generate the lineage.
Enable this option when you do not want lineage to be automatically generated and prefer to create lineage manually or using an API.
On the Application Settings section of General Settings tab, disable the Disable automatic lineage generation toggle when you want to automatically generate the lineage.
Enable this option when you do not want lineage to be automatically generated and prefer to create lineage manually or using an API.
By default, automatic lineage generation is enabled.
Enable or Disable Obfuscate Literals
You can hide literal values from queries ingested with query log ingestion and displayed on the Queries tab of a schema and table catalog objects.
On the General Settings tab enable or disable the Obfuscate literals toggle.
When enabled, literal values are substituted with placeholder values. Disable this option when you want literal values in queries to be visible to users.
By default, this option is disabled.
Configure Logging
To set the logging level for your Snowflake OCF data source logs, perform these steps:
From Alation version 2023.3.2.1 and connector version 2.2.9
On the Settings page of your Snowflake OCF data source, go to General Settings > Connector logs.
Select a logging level for the connector logs and click Save.
The available log levels are based on the Log4j framework.
On the Settings page of your Snowflake OCF data source, go to Logging configuration section of General Settings tab.
Select a logging level for the connector logs and click Save.
The available log levels are based on the Log4j framework.
You can view the connector logs in Admin Settings > Server Admin > Manage Connectors > Snowflake OCF connector.
Configure Add-On OCF Connector for dbt
The dbt connector can be used as an add-on with another OCF connector to extract and catalog descriptions and lineage from dbt models, sources, and columns in dbt Core or dbt Cloud. See Add-On OCF Connector for dbt on how to use this connector.