Edit Object Templates
Alation Cloud Service Applies to Alation Cloud Service instances of Alation
Customer Managed Applies to customer-managed instances of Alation
Applies from Alation version 2023.1.4
Note
This topic describes how to edit data object templates for data sources, schemas, tables, columns, and domains. Other data object templates such as dataflow and BI report are edited in the same way as article templates.
For information on editing data object templates in earlier versions of Alation, see Editing Object Template Layout.
It is possible to customize object templates in Alation by adding or removing fields, or rearranging fields added to these templates.
You need a Catalog Admin or Server Admin role to edit object templates.
Object Template Customization Overview
When you first open the default catalog page of a data object, data source, schema, table, column, or domain in the freshly installed Alation catalog, it has only default fields organized into two sections: a wider main section and a narrower right-hand section:
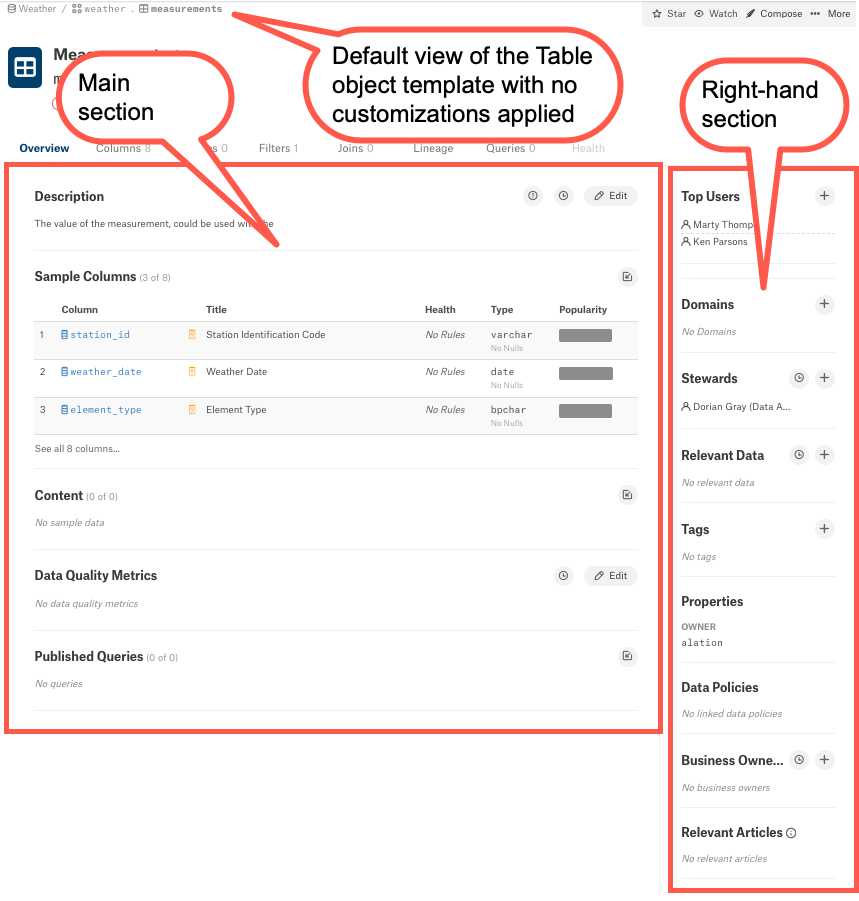
However, you can customize the number of fields and their layout by customizing the underlying template.
Object Template Components
A template always has some default fields that appear on the catalog page before any customizations are applied. There are two main types of default fields:
object-defined fields, read-only fields that reference information or functionality associated with a particular object. Object-defined fields can be removed from a template and re-added as part of a group of fields.
writable fields, such as Title, Description, and Stewards. Writable default fields typically cannot be removed from a template.
Custom fields are components that admins can create, add to, and remove from templates. A group of fields is just that, a group of custom or object-defined fields added to a template as a single entity that can be moved from place to place within the template.
Note
Object-defined fields may be removed from templates and re-added as a part of a group of fields only if this functionality is enabled. See Enable Removability of Object-defined Fields.
Find the Object Templates in the Catalog
To open the template of an Alation object type:
Log in to Alation as a Catalog Admin or Server Admin.
If you are a Catalog Admin, mouse over the settings icon on the right of the main toolbar:

In the menu that opens, click Customize Catalog:
Note
If you log in as a Server Admin, go to Admin Settings > Catalog Admin section > Customize Catalog to open the Customize Catalog page.
The Customize Catalog page will open:
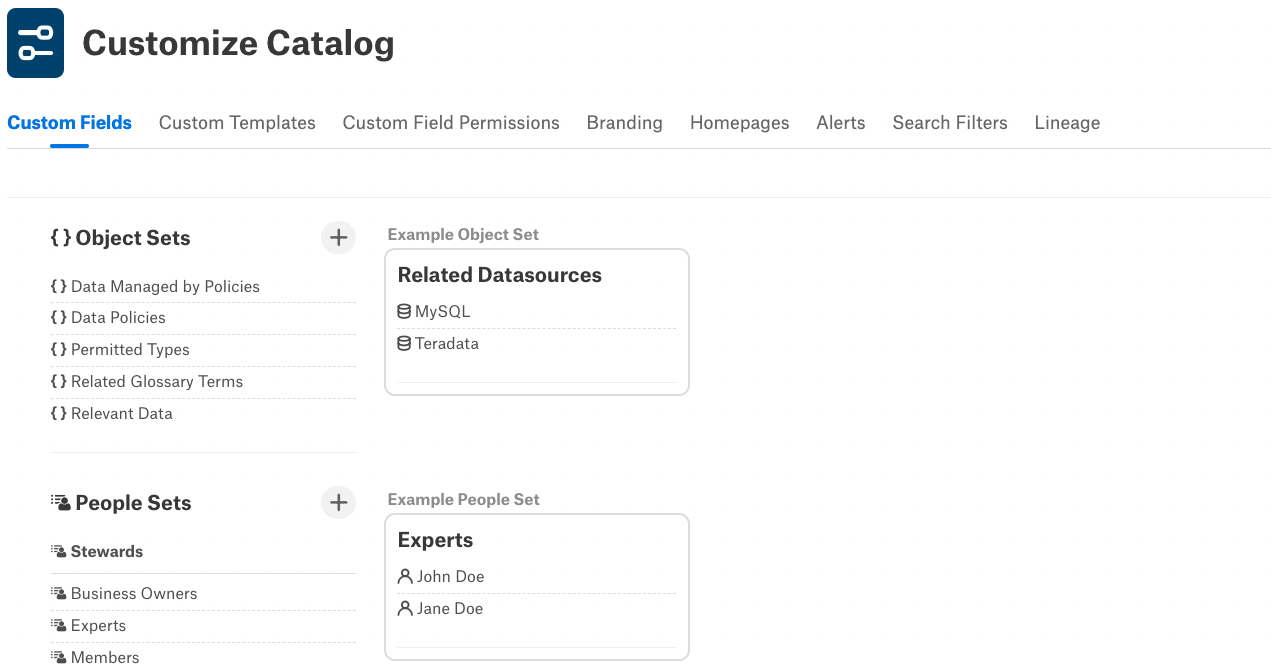
Click the Custom Templates tab.
Under Data Object Templates, find and click the template that you want to edit:
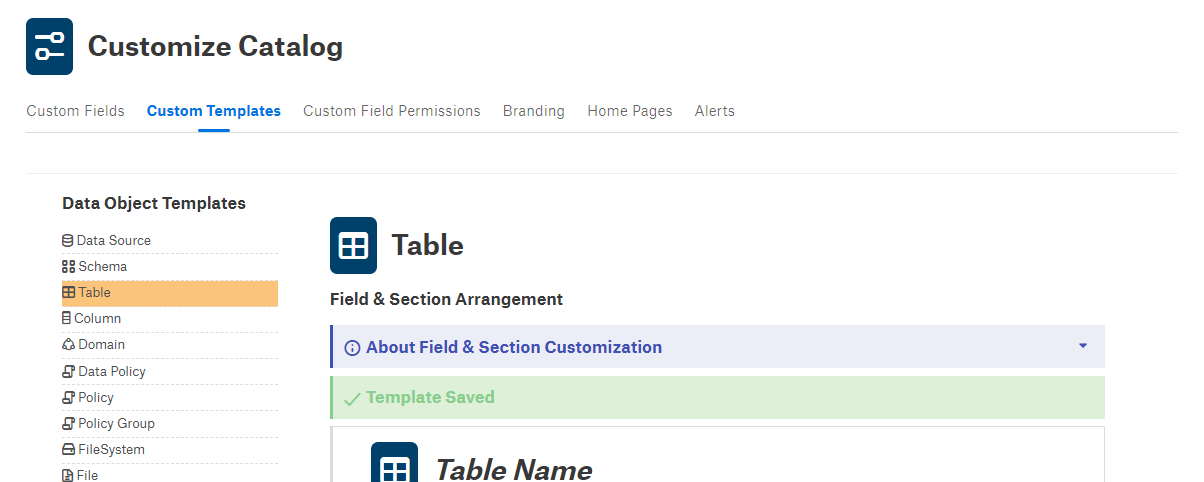
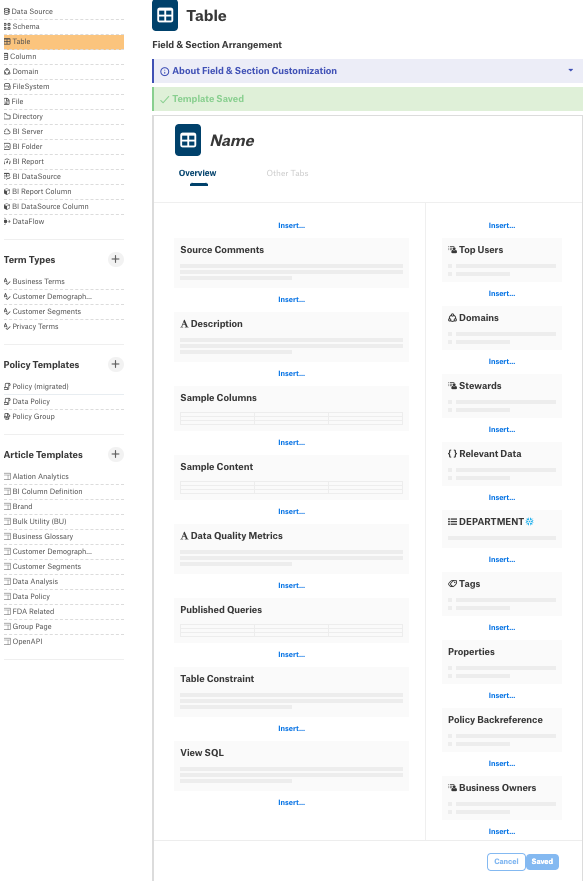
The template editor page that opens represents the layout of the associated catalog page: the fields and sections you see on the template are displayed in the same order in which they will appear on the catalog page. You can add, remove, and rearrange the template components.
Default Table Template:
When working on your template, you can open a second browser tab with the catalog page of a table or column, depending on which template you are editing. After making and saving the changes to the template, refresh the catalog page of the object to quickly see the changes.
What Can Be Modified?
On the Data Source, Schema, Table, Column, and Domain object templates, you can:
Add custom fields.
Add groups of fields
Label groups of fields.
Rearrange fields and groups of fields up and down in sections and sometimes left and right between sections.
Remove most fields. Fields that cannot be removed will not have the Remove (X) button when you hover over the field.
You cannot:
See Related Topics and back reference fields. They do not appear on the template and their position on the catalog page is fixed at the bottom of the right-hand section.
Important
The list of fields available for adding to the template does not show all the fields in the catalog. It shows only those fields that are permitted in this specific area on the template.
Certain custom field types (for example, rich text fields) can be added only to the main section of the page, while other field types can be placed only in the right-hand section.
Also note that a field can be added only once. If it has already been added, you will not be able to add it again in a different location on the template.
Default Fields
The default fields are Alation-defined fields used in constructing default templates. See below for a brief description of the main default fields found on the Data Source, Schema, Table, Column, and Domain object templates. The first table shows editable fields, the second the object-defined fields.
Field |
Description |
Applies to |
|---|---|---|
Title |
Holds the page title. |
Data Source Schema Table Column Domain |
Description |
Holds the description of the object. The Description field of data objects is vital to the catalog curation effort accounted for on My Stewardship dashboard. |
Data Source Schema Table Column Domain |
Stewards |
Lets you assign Stewards to the table and lists the currently assigned Stewards. This field is important to My Stewardship dashboard and curation effort reports. |
Data Source Schema Table Column Domain |
The following table lists some of the more common object-defined fields:
Field |
Description |
Applies to |
|---|---|---|
Schemas |
Lists Schema objects extracted for the parent Data Source. |
Data Source |
Upload Queries |
Upload field to upload sql files to Alation. |
Data Source |
Source Comments |
When applicable to the database type and available in the source database, this field holds the comments added directly in the source database. Hidden from the page if empty. |
Schema Table Column |
Tables |
Lists Table objects extracted for the parent Schema. |
Schema |
Sample Columns |
Lists the child columns of a Table. |
Table |
Sample Content |
Holds samples of the data in table columns. Will only have data if Profiling is performed for this Table. |
Table |
Published Queries |
Lists published queries that use this table. |
Table |
Table Constraint |
When applicable and available in the source database, holds the table constraint expression. Hidden if empty. |
Table |
View SQL |
Depending on the source database type, will appear as “View SQL” or “Definition SQL” on the catalog page of a View object (which is a Table sub-type in Alation). Hidden if empty. |
Table |
Data Type |
Holds information on the data type of the column. |
Column |
Column Profile |
If Profiling is performed, holds the samples of the data in the column. |
Column |
Tags |
Lists Tags that are currently attached to the object. |
Data Source Schema Table Column Domain |
Properties |
Lists the properties of the object. |
Data Source Schema Table Column |
Top Users |
Lists top users as calculated during Query Log Ingestion (QLI) or added manually. |
Schema Table Column |
Subdomains |
Lists subdomains of the current domain. |
Domain |
Note that some of the default fields, such as Description or Sample Content, always appear on the catalog page even if empty; however, some other fields are hidden from the catalog page unless the source database has the required type of data to fill them. Unlike the catalog page, the template always shows all fields available for this object type to allow you to define their location. Examples of fields that may be hidden if empty are the Source Comments, Table Constraints, and View SQL fields. They are displayed only if the source database has corresponding data.
Custom Fields
Custom fields are user-defined fields that can be added to templates. Depending on their type, custom fields may be restricted to one section or the other, as described in the following table:
Both sections |
|
Main only |
|
Right-hand only |
|
Configure the Template
You can configure the template by doing any of the following operations:
Add custom fields.
Add a group of fields.
Rearrange fields.
Remove fields (either custom fields or object-defined fields).
Order fields in a group.
Change a group label.
Remove a group of fields.
Add Custom Fields
To add a single custom field to a template:
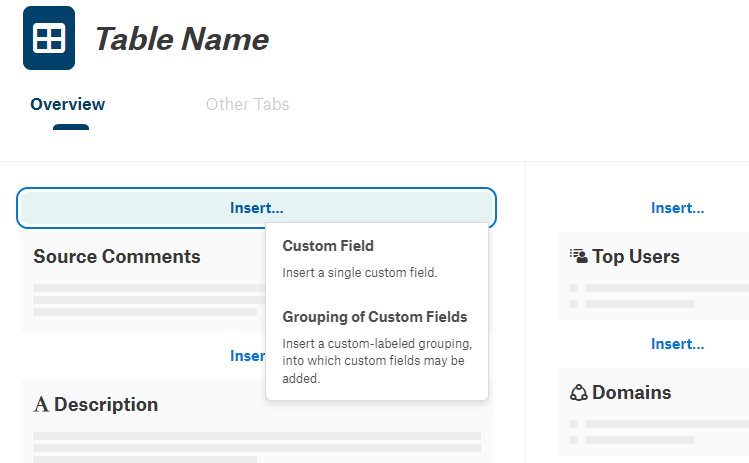
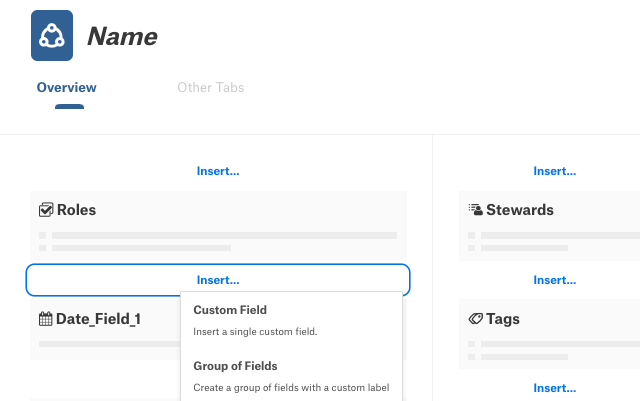
Click Insert in the section and at the location where you would like to add it, either main or right-hand section. In the menu that appears, click Custom Field:
The list of custom fields supported by this section of the template opens:
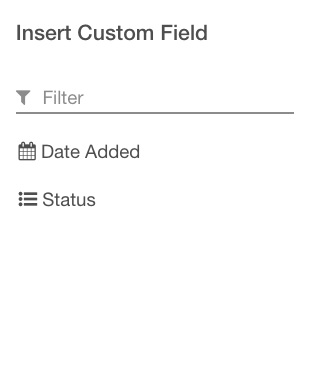
Find and click the field you want to add. It will be added to the template.
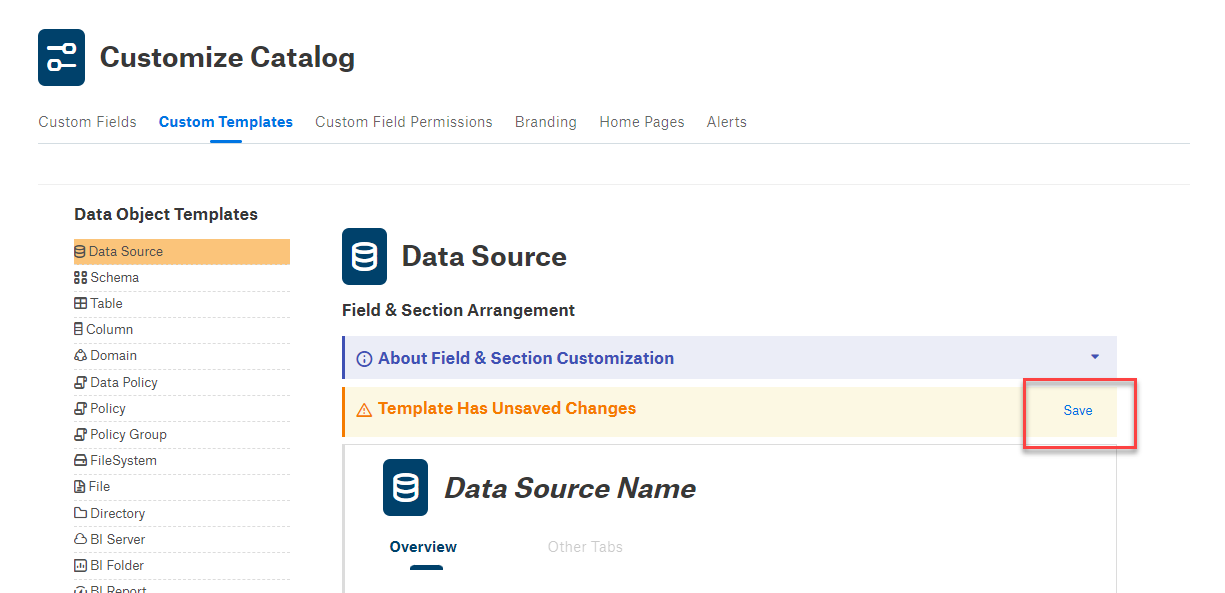
Save the template to apply the changes: click Save on top right of the editor:
Add a Group of Fields
You can add a group of fields to both the main and right-hand sections. To add a group of fields:
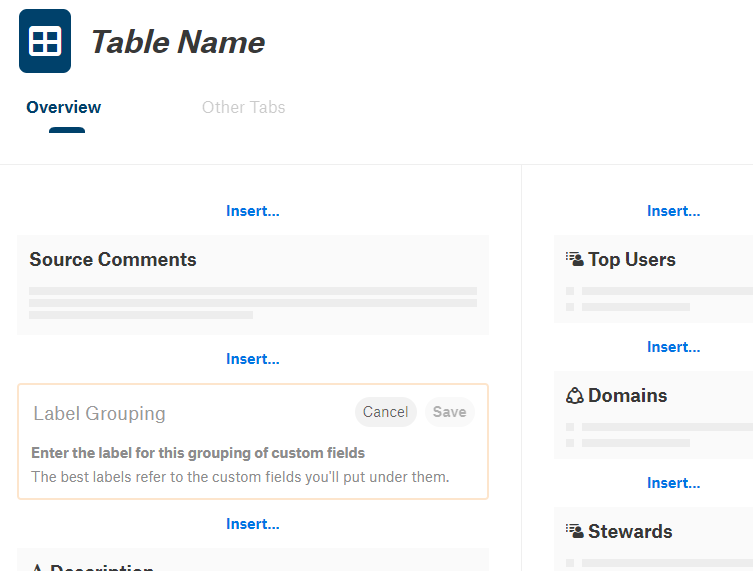
In the main or right-hand section, click Insert at the location where you would like to add the grouping. In the menu that appears, click Group of Fields:
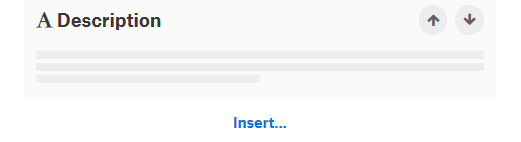
In the editable area that is added, click Label Grouping to activate the field, type a label, and click Save. The grouping will be added to the template:
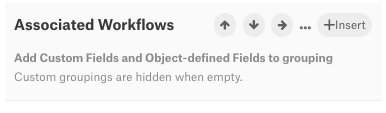
Next you need to add fields to the group. Hover over the field group you added to reveal the controls to the right of the label and click Insert:
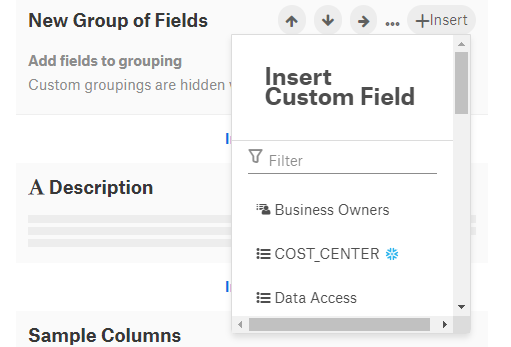
If you have not removed any default fields, you will see only a list of custom fields at this point. If you have removed one or more default fields, you will be presented with a choice between adding a custom field or adding an object-defined field.
In the list of available fields, find and click the field you want to add to the group. Depending on the section you are editing—main or right-hand—you will have a different set of supported fields. For example, rich text fields can only be placed in the main section of the page and reference fields can only be placed in the right-hand section. Also note that if a field has already been added to this template as a single field or as part of a different grouping, it will not be in the list as a field can only be added once. This list of fields available for adding includes fields that are supported for this section and have not been added to the template yet:
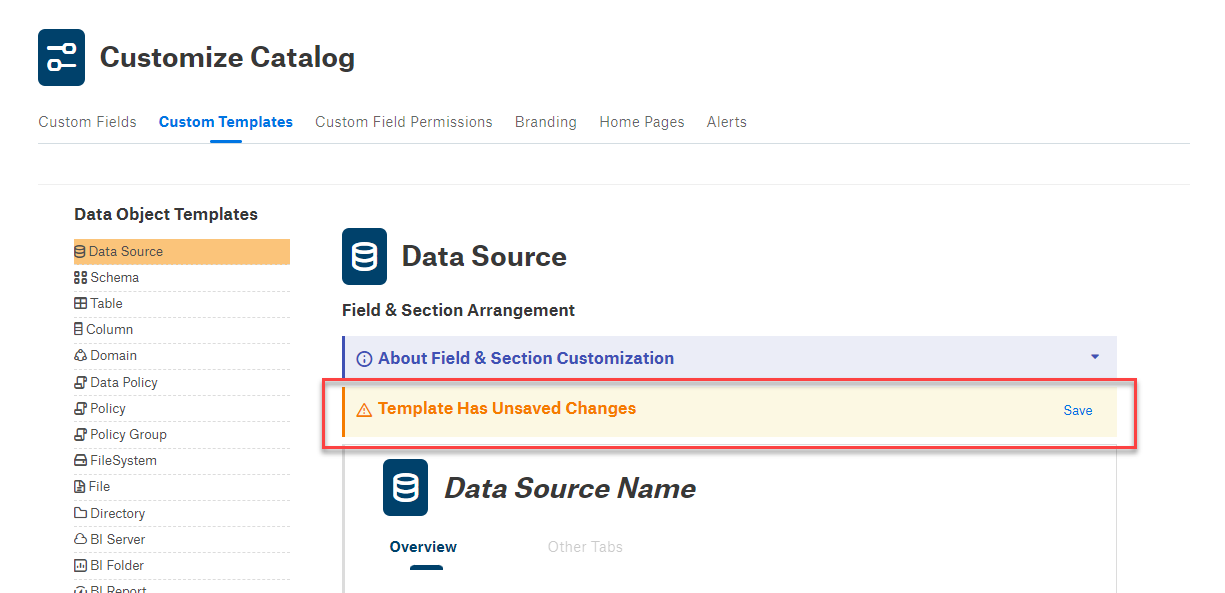
To apply your changes, click Save in the yellow Unsaved Changes banner on top of the template:
Rearrange Fields
You can rearrange all fields up and down in the template section where they are located. Many fields can also be moved between sections. Fields that can be moved both vertically and horizontally will display vertical and horizontal arrows when you hover over them:
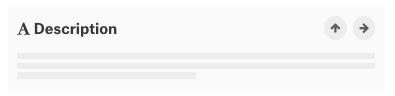
Fields that can only be moved vertically will have only vertical arrows:
To move a field:
On the Custom Templates page, select the object template you want to edit from the list of object templates on the left.
Hover over a field in the template to reveal the move icons.
Click the appropriate arrow to move the field placeholder as desired.
Click Save on the upper-right of the template to save the changes.
Important
When you are working on your templates, remember to save your changes to apply them to the catalog page. The template page will indicate that there are some unsaved changes by displaying an Unsaved Changes banner on top of the template:
Remove a Field
To remove a field from the template, hover over it to reveal the Remove button:

Click it to remove the field:
Note that this action is safe. It does NOT remove the field from the catalog, but only from the template.
You will notice that some of the fields in the template do not have a Remove button:
These are fields that cannot be deleted from the template.
Order Fields In a Group
You can order the fields in a group of fields. To order:
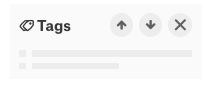
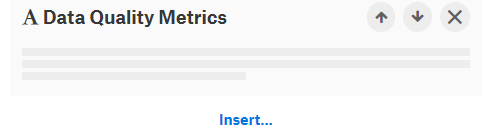
Hover over the group to reveal the controls:

Use the up and down arrows to move the field in the grouping.
Save your changes to the template by clicking Save in the yellow banner on top of the template area.
Edit Field Group Labels
You can edit the group label. To edit:
Hover over the group to reveal the controls to the right and click the three dots

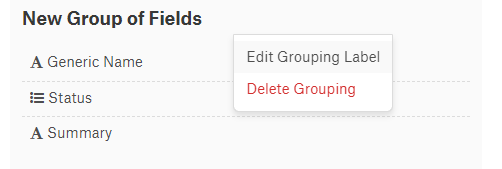
In the menu that opens, click Edit Grouping Label:
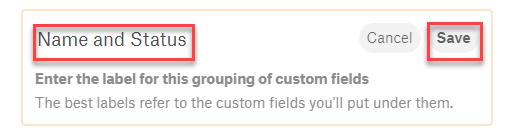
Change the label and click Save:
To save your changes to the template, click Save in the yellow banner on top of the template area.
Remove a Group
Hover over the group to reveal the controls on the right of the label.
Click the three dots
In the menu that opens, click Delete Grouping. It will be deleted from the template:
To save your changes to the template, click Save in the yellow banner on top of the template area.