Authenticate to AWS Data Sources with SSO
Alation Cloud Service Applies to Alation Cloud Service instances of Alation
Customer Managed Applies to customer-managed instances of Alation
Available from release 2021.2
If you are going to work with an AWS data source in Compose, you may need to authenticate to this data source using single sign-on (SSO).
Note
The type of authentication that applies to a specific data source is configured in its Settings, by a Data Source Admin.
If an AWS data source is configured to use SSO, Alation does not store users’ database credentials in a saved connection or anywhere on the Alation server. When users connect to an SSO-enabled data source in Compose, they are redirected to their organization’s identity provider login page for authentication. After they have provided login credentials, Compose establishes an authorized connection to the data source. Upon authentication, users can create and run queries.
Starting in 2022.1, the authentication workflow has changed. Use the relevant instructions below depending on your Alation version.
Authenticating to AWS with SSO from 2022.1
To authenticate with a data source in Compose, you must select both a connection and a user. (To add, edit, or delete connections and users, see Working with Data Source Connections.)
Note
To connect with SSO, the user must exist in both your identity provider and your AWS data source.
To authenticate to an SSO-enabled AWS data source from 2022.1:
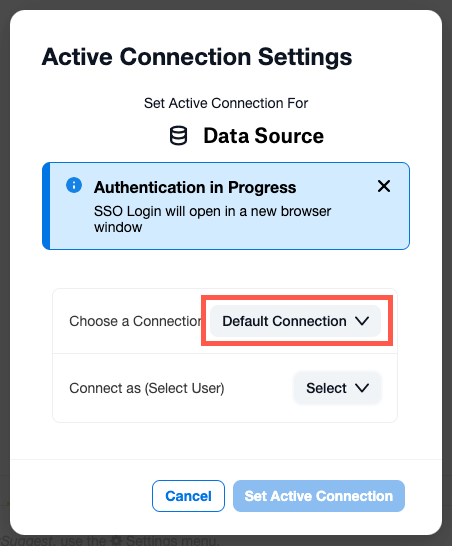
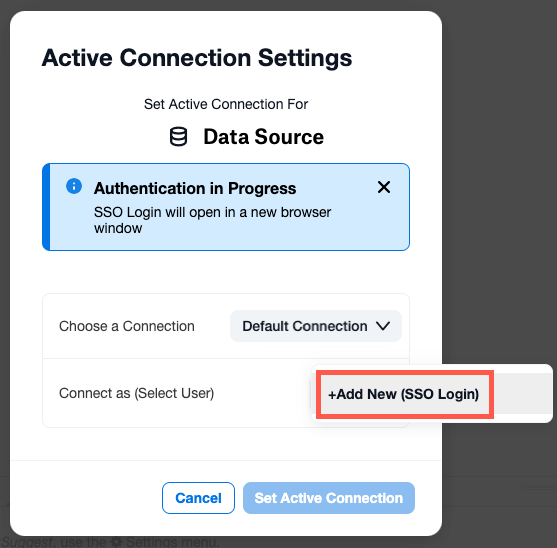
Click Connection Settings.

The Active Connection Settings dialog opens.
Click the menu button next to Choose a Connection.
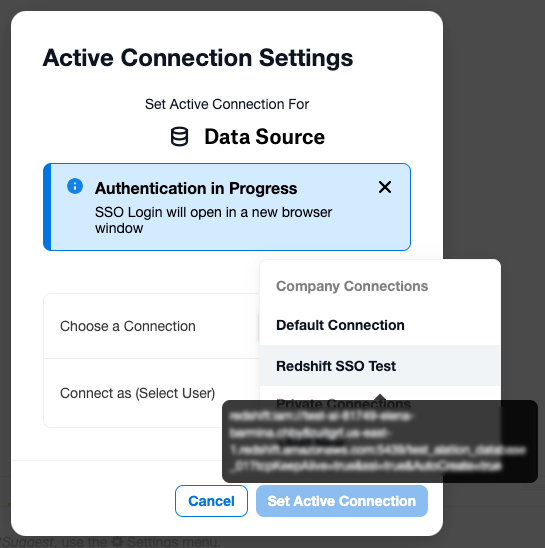
Select your SSO connection. When you hover over the connection name, you’ll see the connection URI in a popup so you can be sure you’re selecting the right connection.
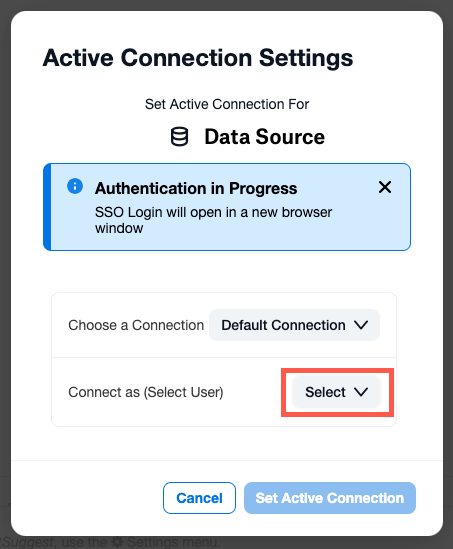
Click the menu button next to Connect as (Select User).
If the user already exists, click the pencil icon next to their username.
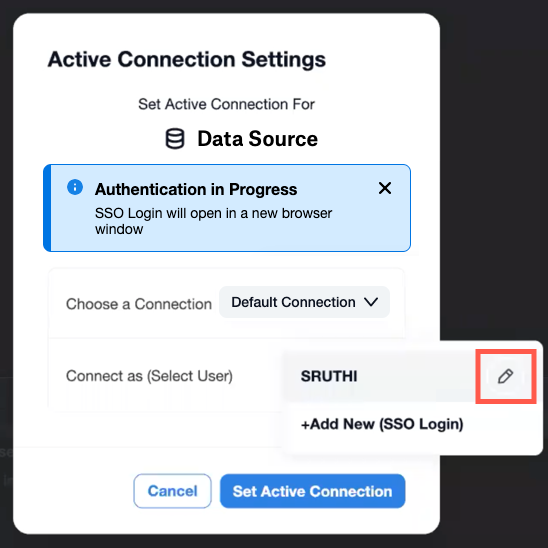
To connect with a new user, click +Add New (SSO Login). You can only have one active SSO user at a time, so doing this will remove the previous user from the list.
Note
If you have authenticated with an existing user via SSO before, that user’s authentication token must have expired before you can add new SSO credentials. If the authentication token has not expired, clicking +Add New (SSO Login) will simply reauthenticate the prior user.
Whether you click the pencil icon or add a new user, the login page for your identity provider will open in a new browser tab.
Enter your credentials and log into your identity provider.
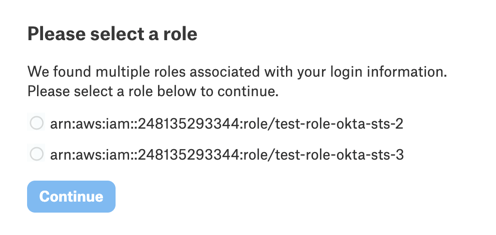
If you have multiple roles assigned in AWS IAM, you will be asked to select the role you wish to use in Compose. Select the role and click Continue.
The browser tab containing your identity provider will close.
In the Active Connection Settings dialog, click the Set Active Connection button.
The connection dialog will close. The authentication process may take some time to resolve. Once it does, you will be authenticated in Compose and can run queries on the data source.
Authenticating to AWS with SSO before 2022.1
To authenticate to an SSO-enabled AWS data source before 2022.1:
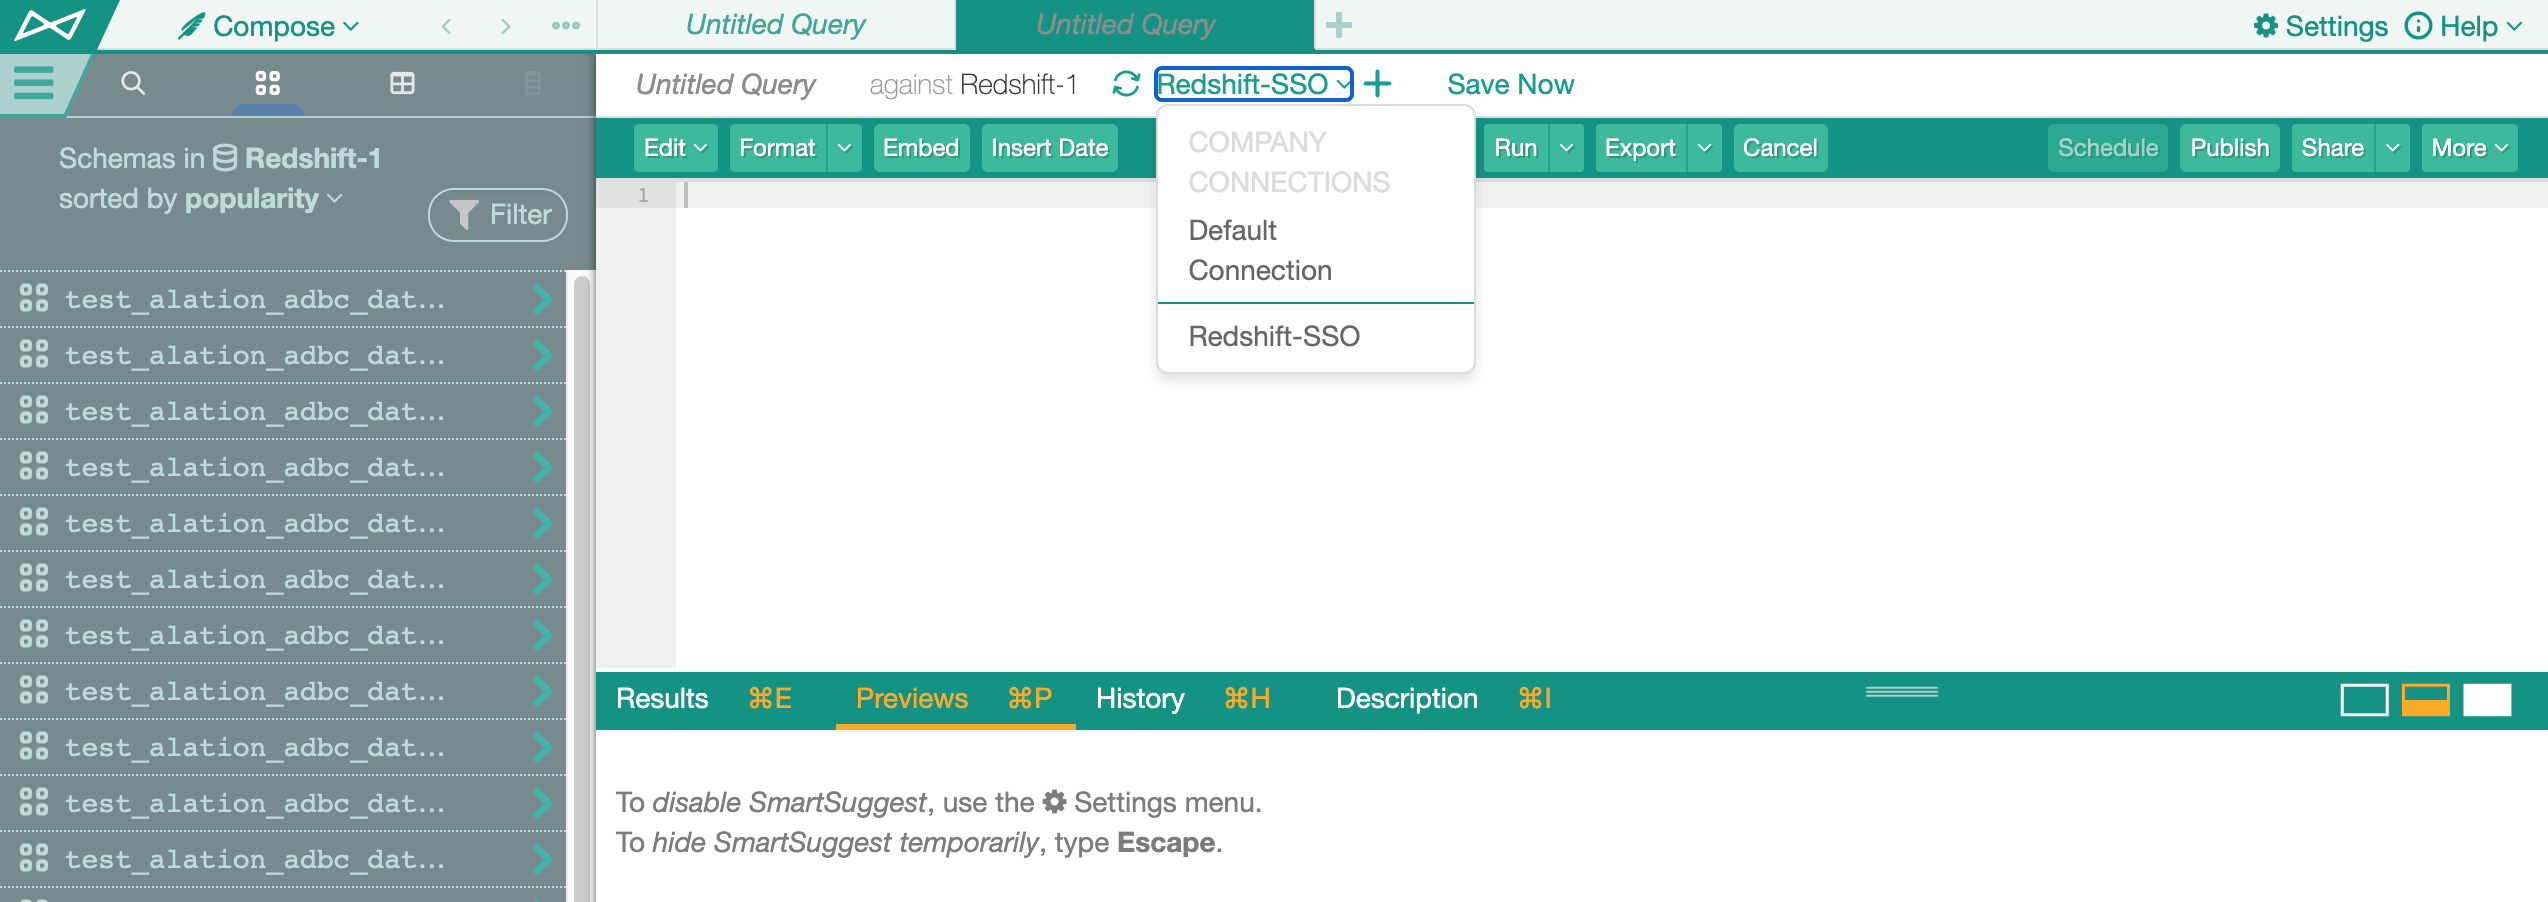
From the available connections list, select the SSO-enabled connection you want to use:
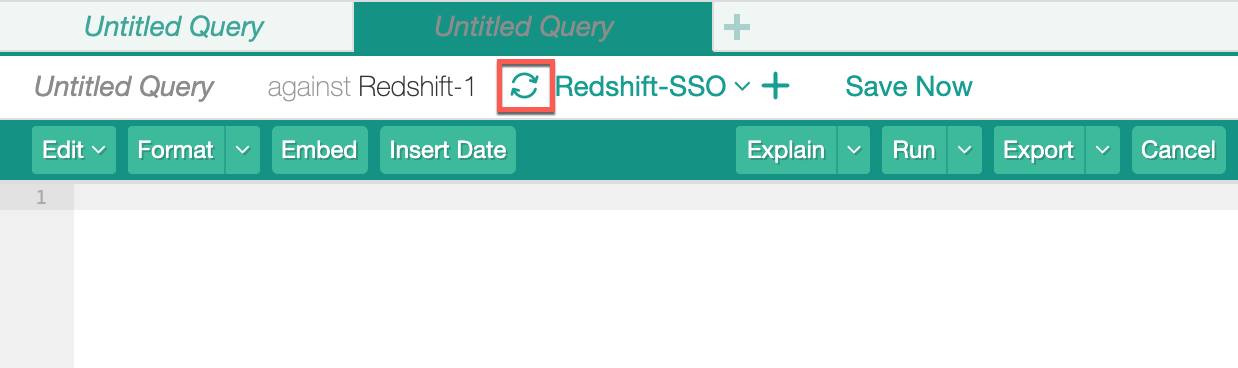
Click the Reconnect button:
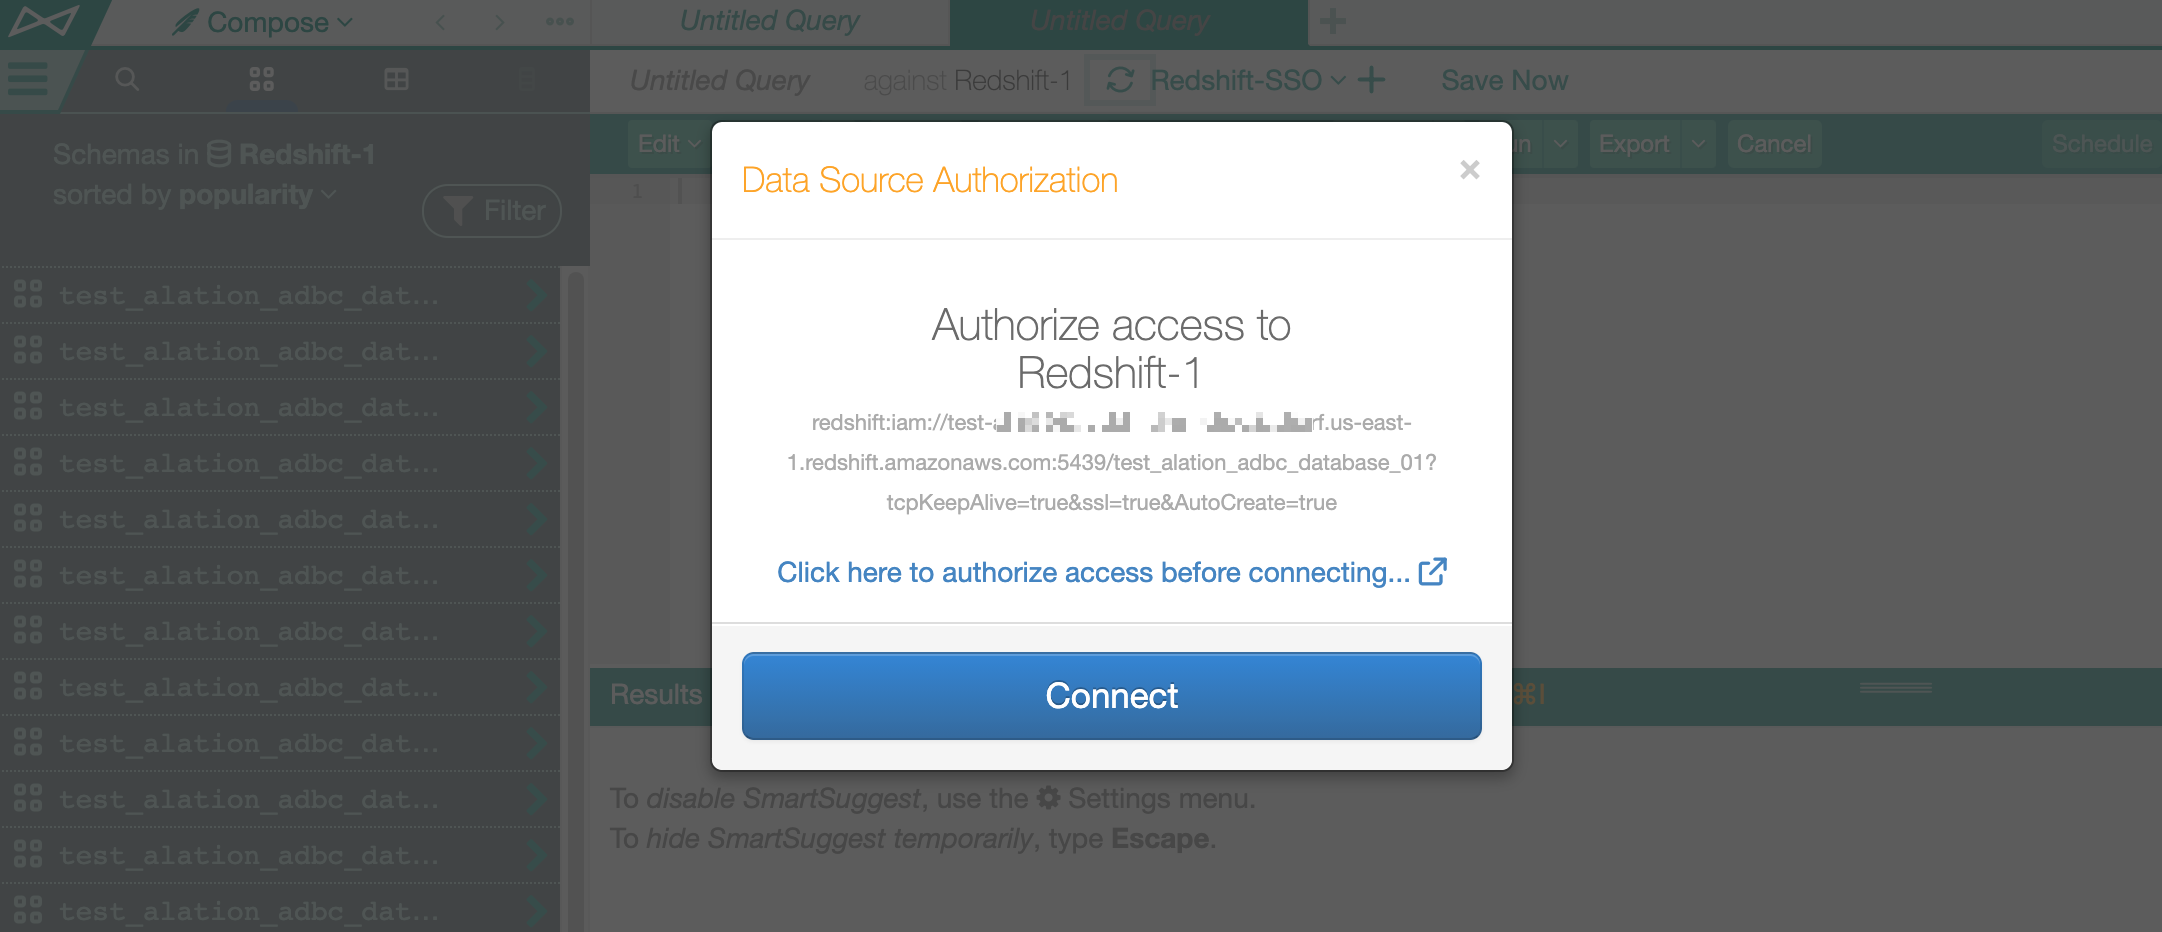
In the Data Source Authorization dialog that pops up, click the link Click here to authorize access before connecting:
A new browser tab will open with the login page of the Identity Provider according to the configuration in the data source Settings. Enter your credentials and log in.
If you have multiple roles assigned in AWS IAM, you will see the Select Role screen next. Select the role you wish to use in Compose and click Continue:
The authorization tab will close and you will be authenticated in Compose. Now you can run queries on the data source.